How to Connect Laptop to Projector
By XGIMI Tech - 2024-09
Learn how to connect a laptop to a projector effortlessly! Our step-by-step guide covers various methods, including using HDMI and USB cables, wireless connections, and Bluetooth. Connect your laptop to a projector without HDMI hassle and enjoy seamless presentations and entertainment on the big screen.
Part 1. Selecting the Right Cables and Adapters
A. Identifying the video output ports on your laptop
When it comes to connecting your laptop to a projector, choosing the right cables and adapters is crucial to ensure a smooth and hassle-free setup. Start by identifying the video output ports available on your laptop. Common ports include HDMI, Mini HDMI, DisplayPort, USB-C, and VGA.
1. HDMI Port: HDMI is the most common and versatile option. If both your laptop and projector have HDMI ports, you can directly connect them using an HDMI cable, providing high-definition audio and video transmission.
2. Mini HDMI Port: Some laptops come with mini HDMI ports. To connect to a standard HDMI projector input, you'll need a mini HDMI to HDMI adapter or cable.
3. DisplayPort: This port delivers high-quality video and audio signals. If your laptop and projector have DisplayPort, simply use a DisplayPort-to-DisplayPort cable.
4. USB-C: Many modern laptops feature USB-C ports, but most of them are used for powering now. You should check whether the USB Type-C Port support video output first. For USB-C to HDMI connection for projection, you should use a USB-C to HDMI adapter or a USB-C hub with an HDMI port.
5. VGA: Although older, VGA ports are still found on some laptops and projectors. To connect using VGA, use a VGA cable for video transmission and a separate audio cable for sound.

B. Matching the video output port with the projector's input options:
Once you've identified the video output port on your laptop, ensure that the projector has a compatible input option. Most projectors support multiple input options, such as HDMI, VGA, or DisplayPort. If your laptop and projector have different ports, you'll need the appropriate cable or adapter to match the two.
C. Common types of cables and adapters for laptop-to-projector connections:
1. HDMI Cable: A standard HDMI-to-HDMI cable is commonly used to connect laptops and projectors, providing both high-quality video and audio transmission.
2. HDMI Adapter: Depending on your laptop's video output port, you may need an HDMI adapter (e.g., HDMI to VGA, HDMI to DisplayPort) to connect to the projector.
3. USB-C Adapter: If your laptop has a USB-C port, you'll need a USB-C to HDMI or USB-C to VGA adapter.
4. VGA Cable: For laptops with VGA ports, a VGA-to-VGA cable is used to connect to projectors with VGA inputs.
5. Wireless Options: Some projectors support wireless connections, allowing you to connect your laptop wirelessly using Wi-Fi or Bluetooth.
By selecting the right cables or adapters and matching the video output port on your laptop with the projector's input, you can easily connect your laptop to the projector for presentations, movie nights, and more.
Part 2. How to Connect Your Laptop to the Projector?
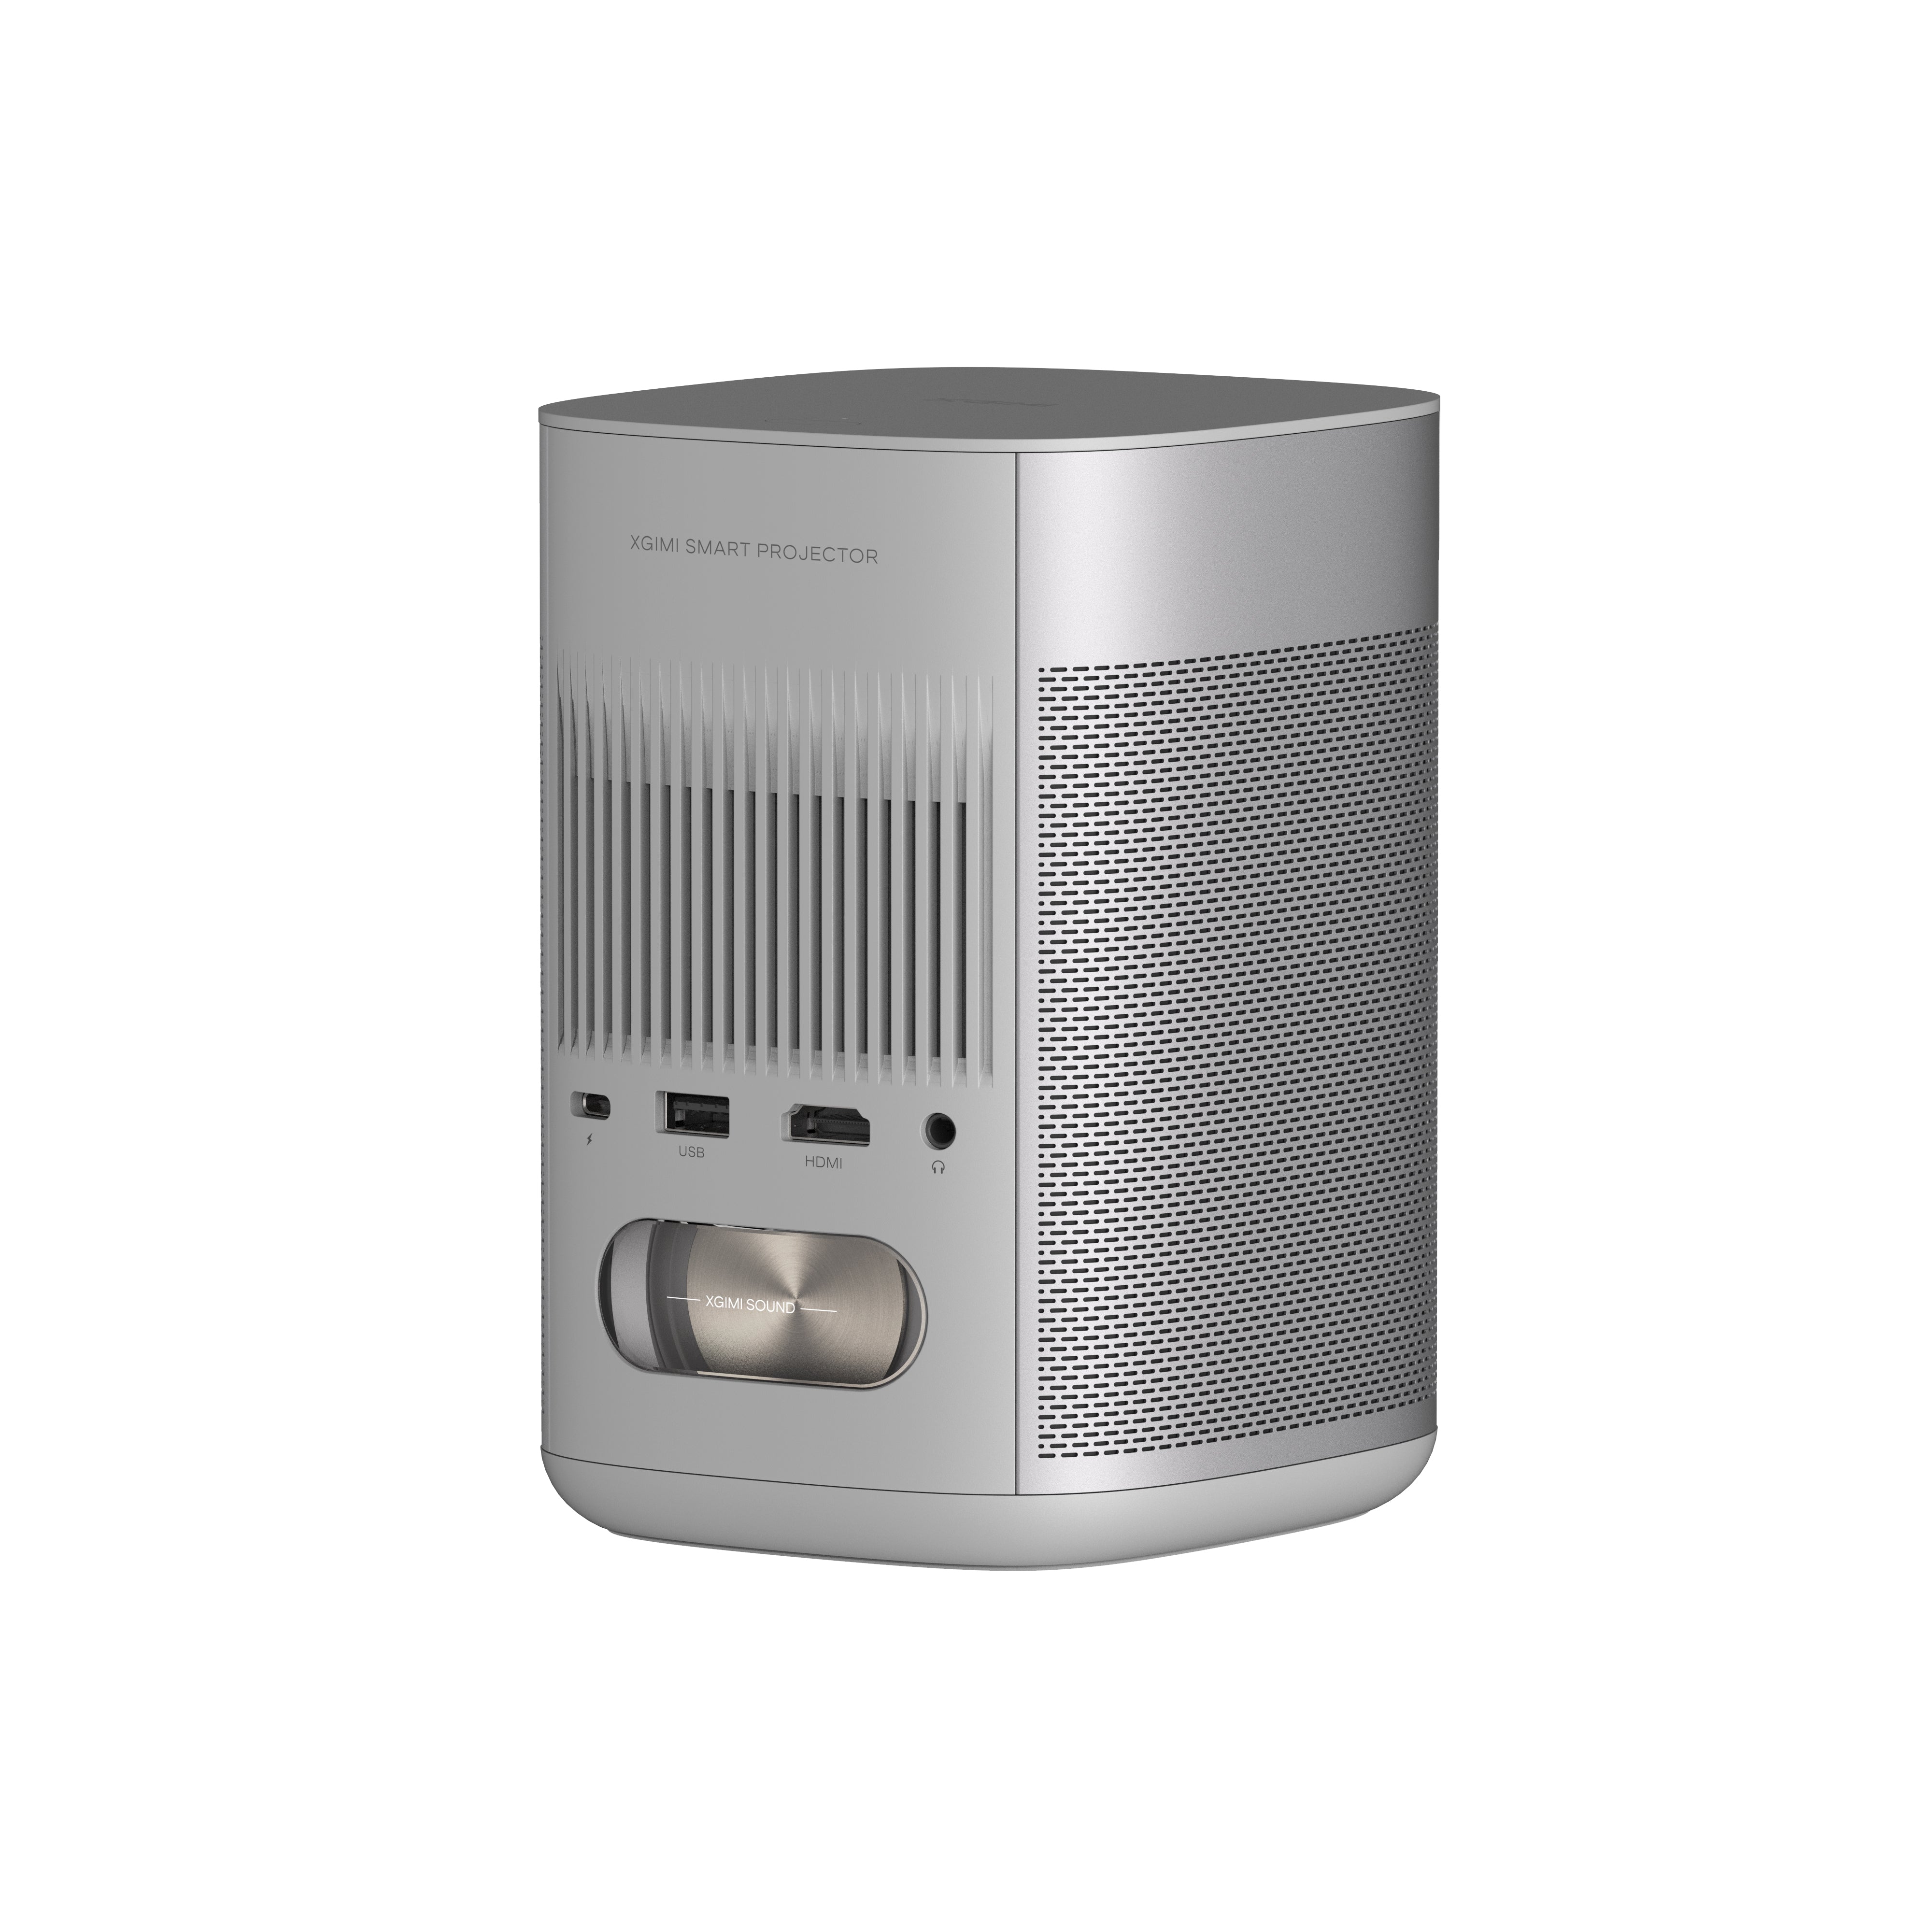
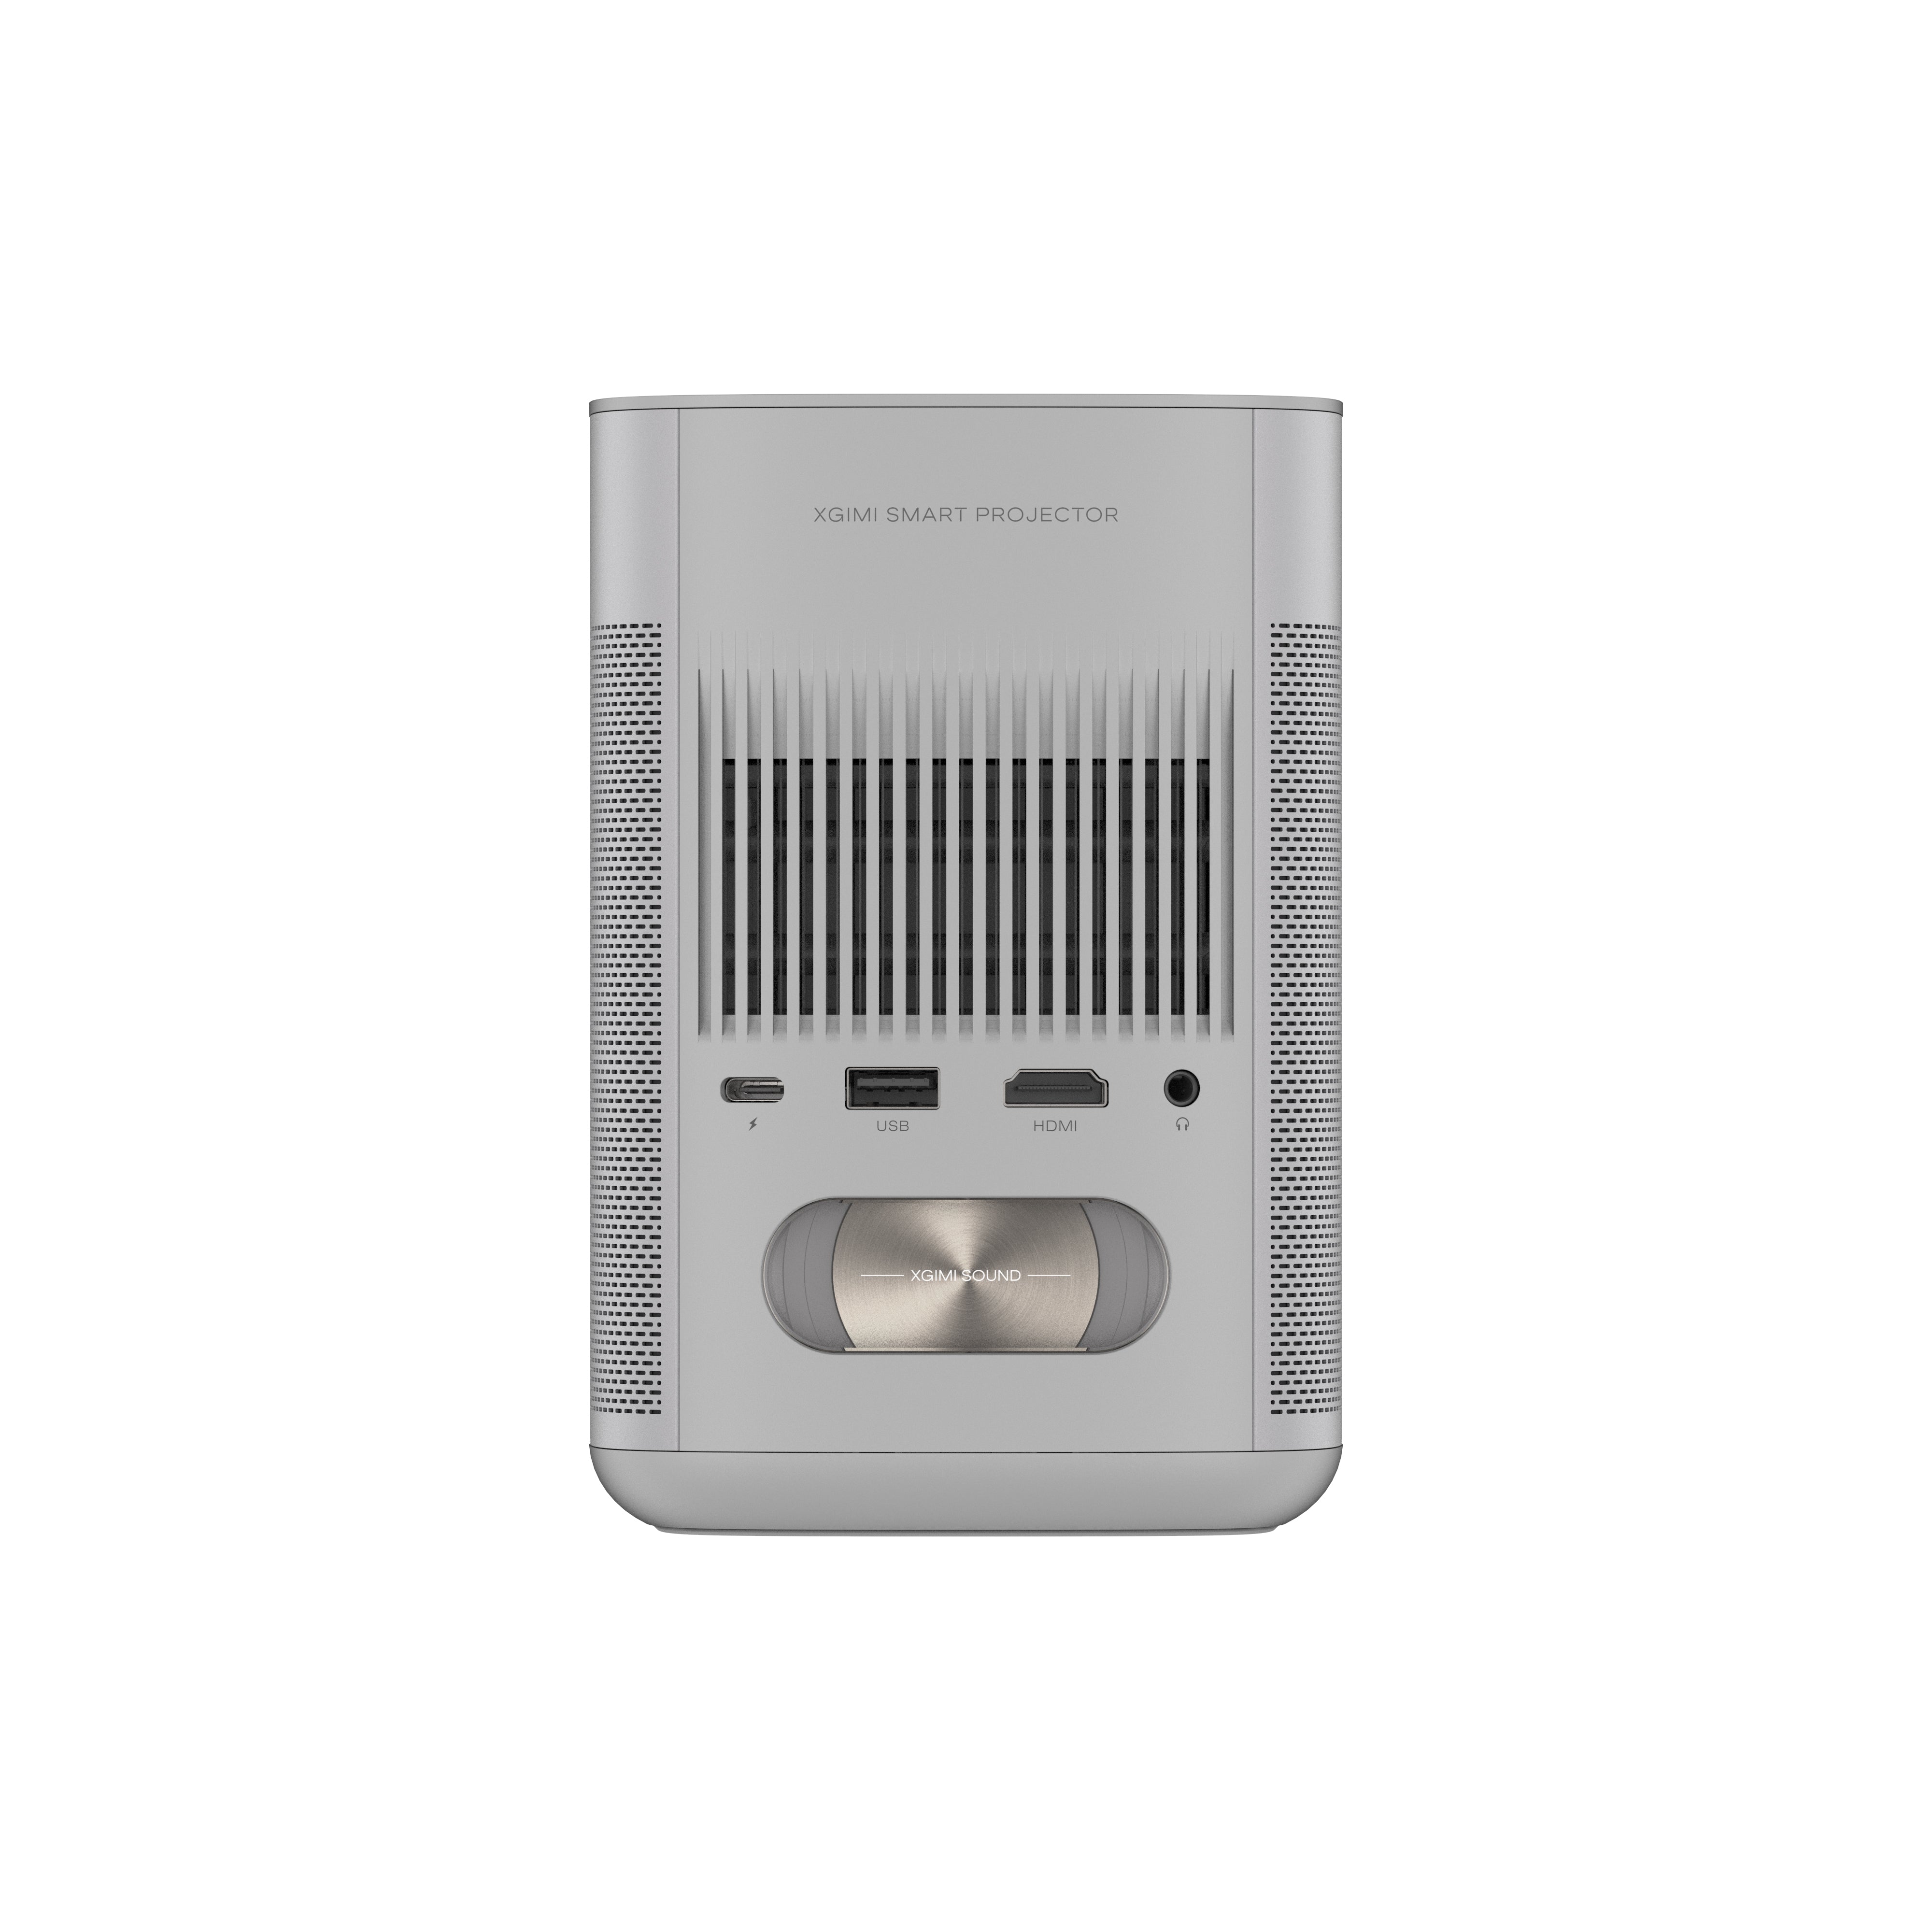
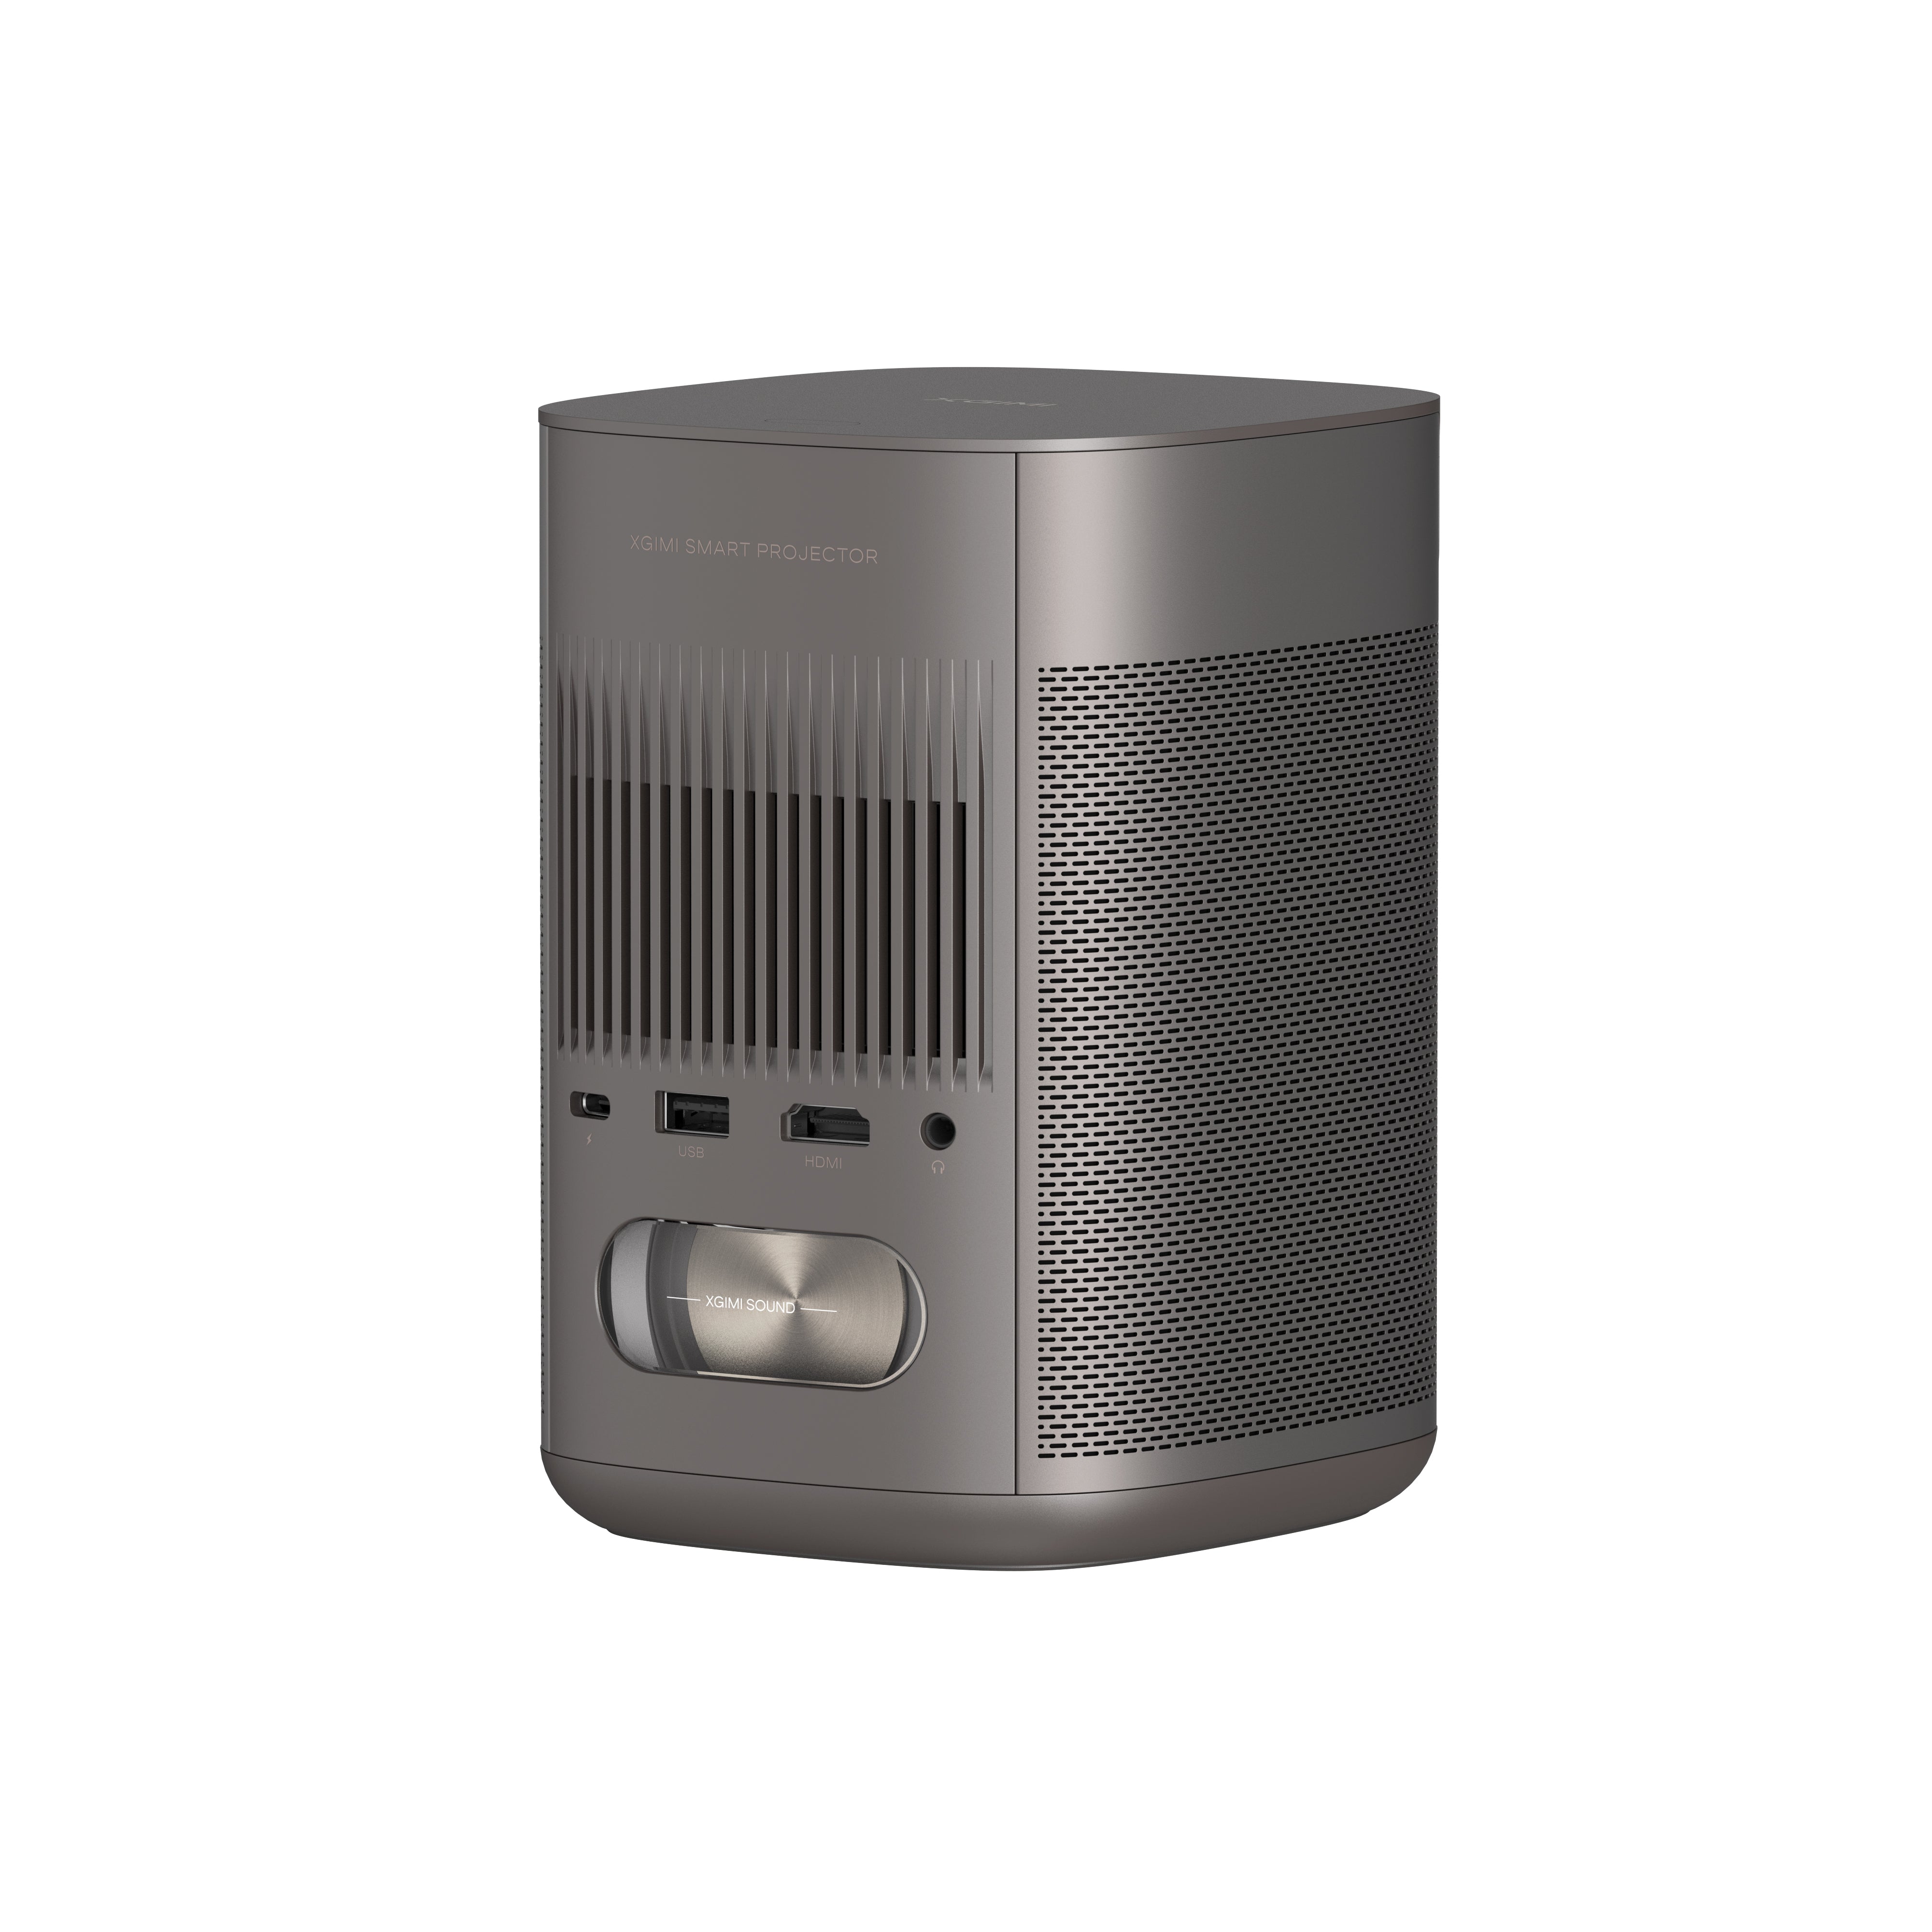
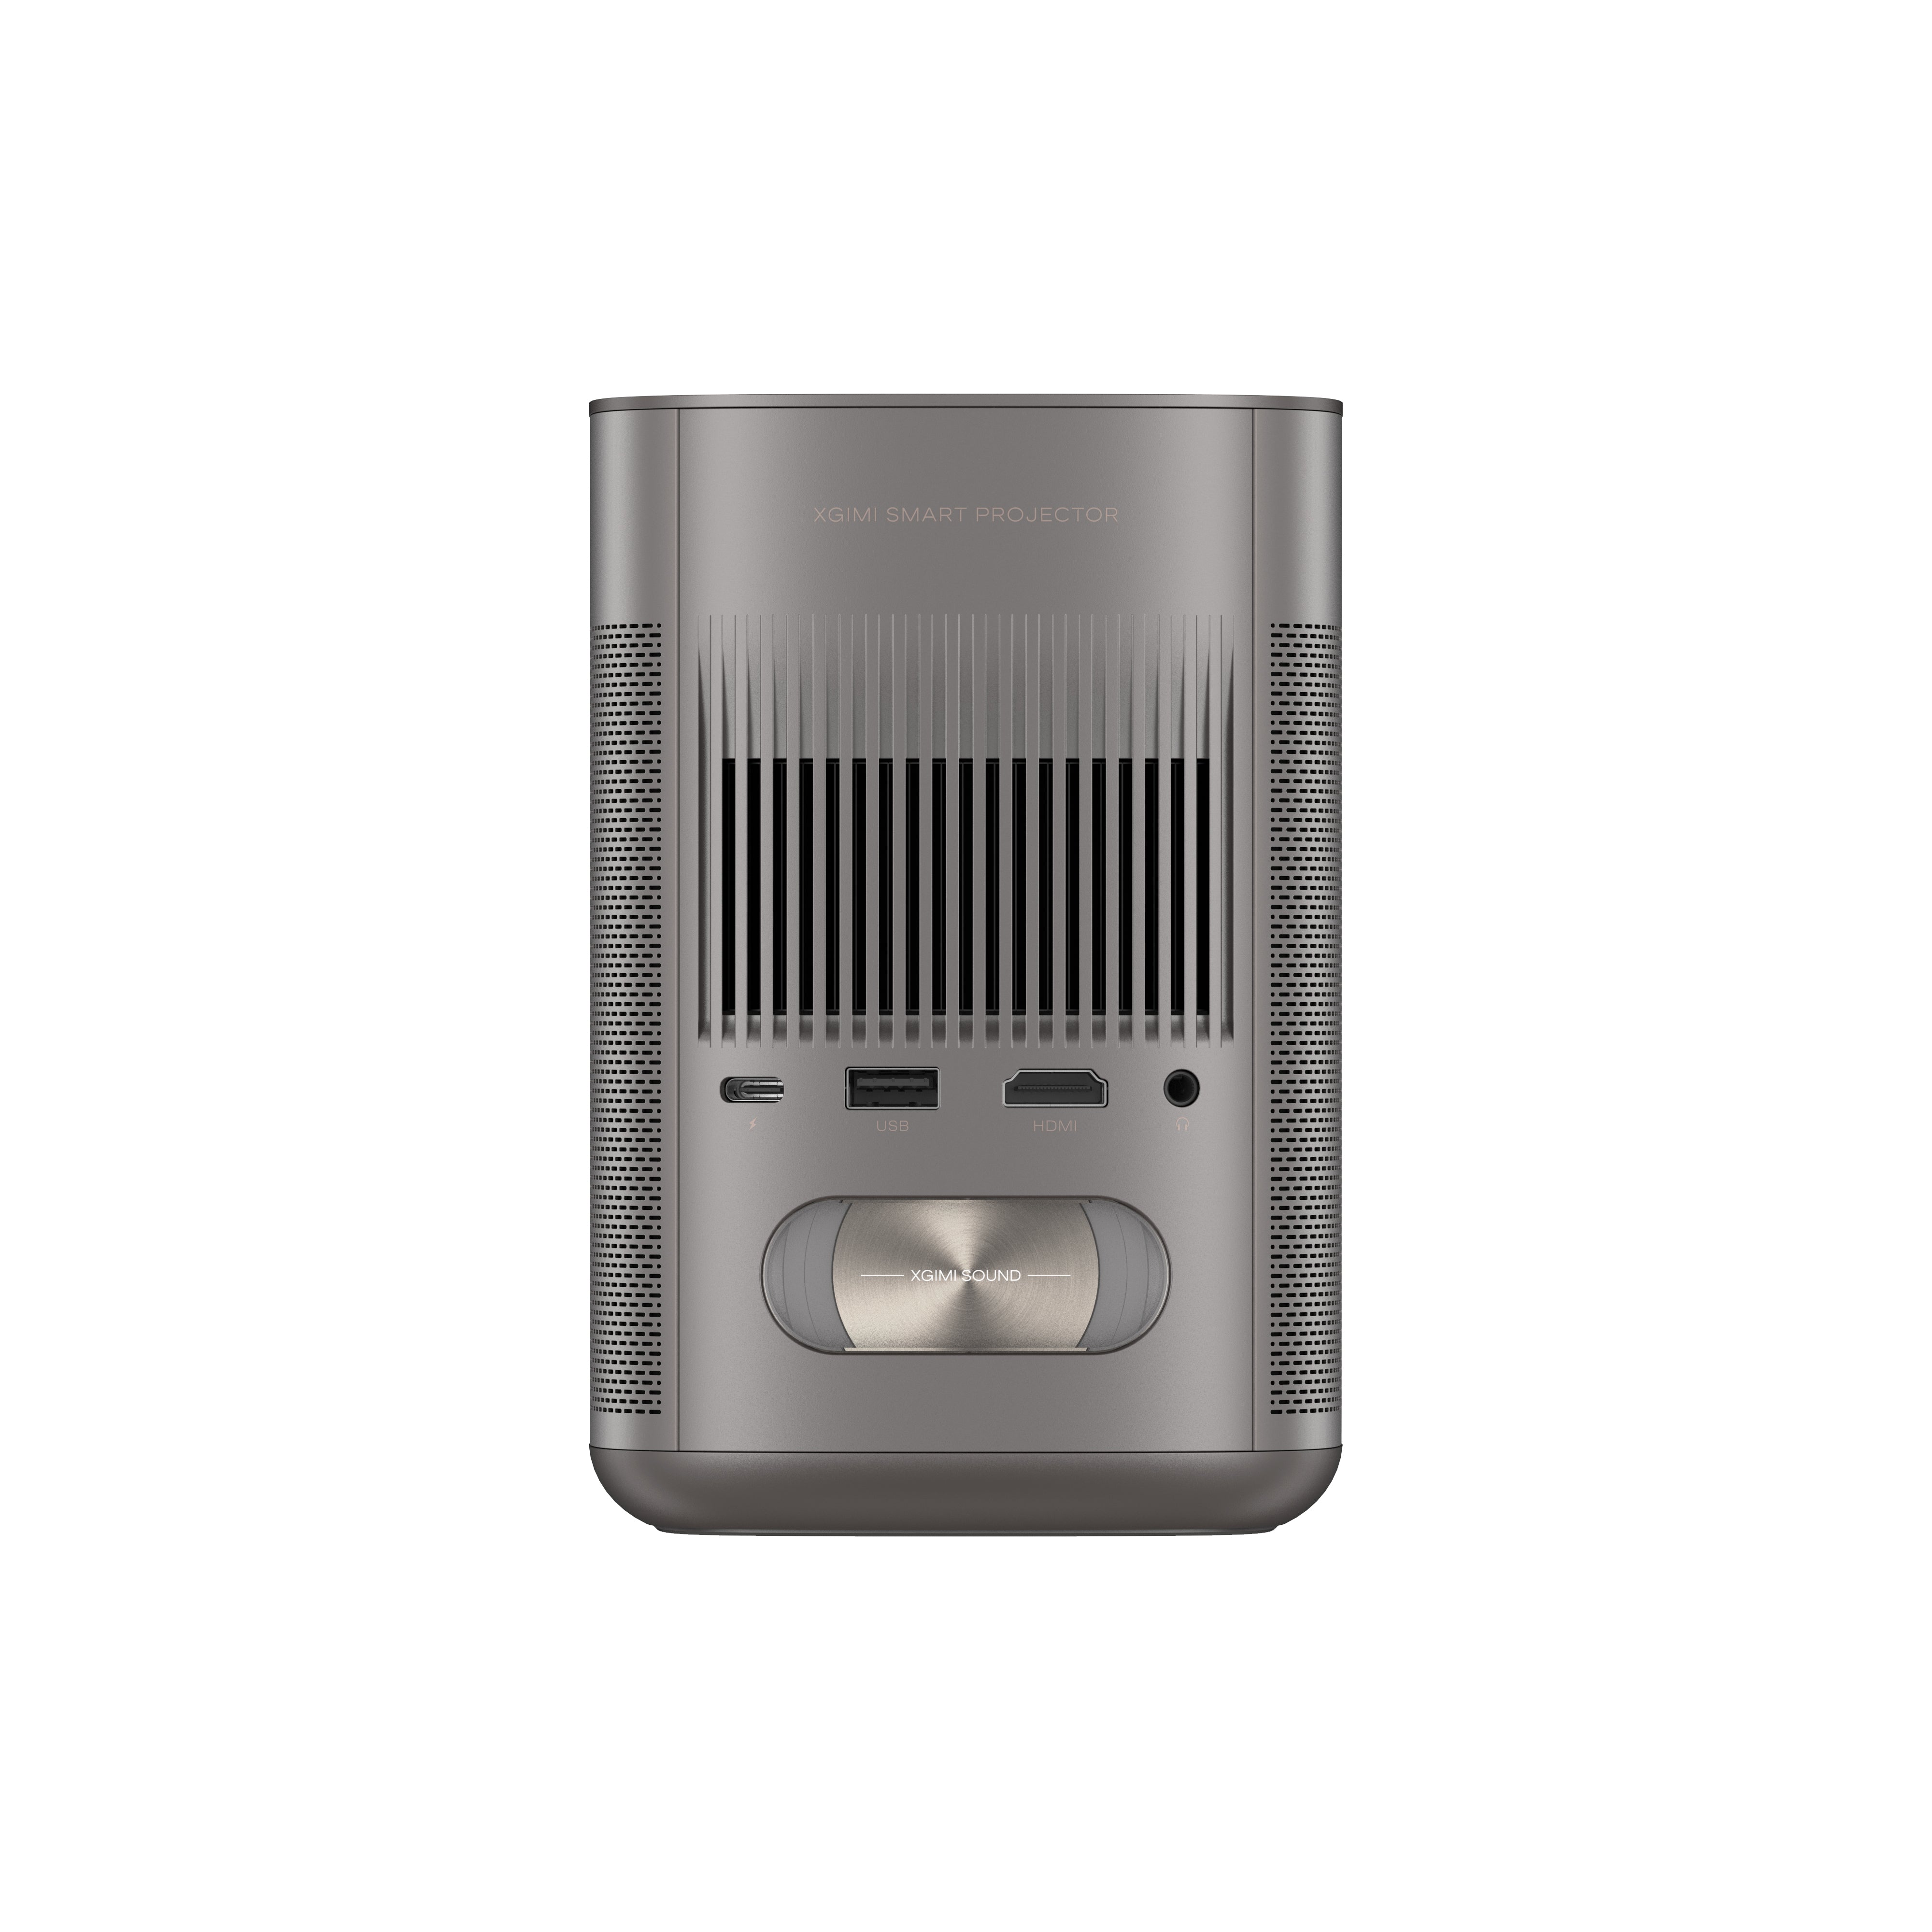
XGIMI smart projectors support wired connectivity of HDMI or HDMI Micro for projection. Note that the USB Type-C interface on the XGIMI beamers is usually designed for charging. And the USB slot is for connecting USB flash drive or other devices.
Here introduce four methods of connecting laptop to projector for casting videos, including HDMI, USB, VGA, and the wireless way.
A. How to connect laptop to projector with HDMI:
The HDMI connection is the most common option for casting video contents on a modern projector. It includes the standard type and the micro type.
1. Find the HDMI ports: Locate the HDMI port on your laptop and the HDMI input on the projector.
2. Connect the HDMI cable: Plug one end of the HDMI cable into your laptop's HDMI port and the other end into the projector's HDMI input.
3. Adjust display settings: Open display settings on your laptop and choose the appropriate display mode (extend or duplicate) to enable the connection with the projector.
B. How to connect laptop to projector using VGA cables:
1. Locate the VGA ports: Identify the VGA port on your laptop and the VGA input on the projector.
2. Connect the VGA cable: Plug one end of the VGA cable into the laptop's VGA port and the other end into the projector's VGA input.
3. Adjust display settings: On your laptop, go to display settings (usually found in the control panel or system preferences) and select the option to extend or duplicate the display to the projector.
4. Adjust projector settings: If the projector doesn't automatically detect the input, use its remote or on-screen menu to select the VGA input source.
C. How to connect laptop to projector with USB:
Note: You should make sure that the USB port on your laptop supports video output before using this method.
1. Check laptop and projector compatibility: Ensure your laptop support USB connectivity for video output.
2. Get a USB video adapter: Purchase a USB video adapter that matches your laptop's video output port (e.g., USB to HDMI or USB to VGA).
3. Connect the USB adapter: Plug the USB end of the adapter into your laptop's USB port and the other end into the projector's HDMI or VGA input.
4. Install drivers (if necessary): Some USB adapters require drivers to be installed on your laptop. Follow the manufacturer's instructions to install any required software.
5. Adjust display settings: Go to display settings on your laptop and configure the display mode to extend or duplicate to the projector.
D. How to connect projector to laptop wirelessly:
1. Check wireless compatibility: Ensure both your laptop and projector support wireless connections via Wi-Fi or Bluetooth.
2. Connect wirelessly: Access the projector's wireless settings and follow the on-screen instructions to connect to your laptop.
3. Screen mirroring: On your laptop, enable screen mirroring or casting through the Wi-Fi or Bluetooth settings to project your laptop's display onto the projector wirelessly.
4. Adjust display settings (if needed): Depending on the wireless connection method, you might need to adjust display settings on your laptop to optimize the projection.
By following these steps, you can easily connect your laptop to the projector using various methods, including HDMI, VGA, USB, or wirelessly. Each option offers its advantages, providing you with the flexibility to connect and project your laptop's content for presentations, movies, or any other multimedia needs.
Part 3. How to Configure Display Settings?
A. Adjusting display settings on Windows-based laptops:
1. Extending or duplicating the display:
After connecting your laptop to the projector, you may need to adjust the display settings to ensure the content is correctly projected. Here's how:
● Right-click on the desktop and select "Display Settings."
● In the Display Settings window, you'll see two displays labeled as "1" and "2." "1" represents your laptop screen, and "2" represents the projector.
● To extend your display, select "Extend these displays." This allows you to have separate content on your laptop and projector screens, making it ideal for presentations.
● To duplicate your display, select "Duplicate these displays." This mirrors your laptop screen onto the projector, showing the same content on both screens.
2. Resolving resolution issues:
Sometimes, the projector's native resolution may not match your laptop's resolution, leading to improper display. To resolve this:
● In the Display Settings window, scroll down and click on "Advanced display settings."
● Under "Resolution," select the recommended resolution for the projector or experiment with different resolutions until the content fits properly.
B. Configuring display settings on macOS-based laptops:
After connecting your macOS-based laptop to the projector, you can adjust the display settings as follows:
● Click on the Apple menu and choose "System Preferences."
● In the System Preferences window, click on "Displays."
● Go to the "Arrangement" tab. You'll see two screens represented by rectangles.
● To extend your display, drag the small white rectangle (representing your laptop's screen) to the right or left of the big rectangle (representing the projector). This extends your desktop, providing additional space for content on the projector.
● To duplicate your display, check the "Mirror Displays" box. This will show the same content on both your laptop and the projector.
For resolution issues on macOS
● In the Display settings, click on the "Scaled" option while holding the "Option" key. This will display additional resolution options.
● Select the resolution that best fits the projector's screen to ensure proper display.
Configuring display settings correctly is crucial to deliver a smooth and effective presentation or enjoy multimedia content seamlessly on your connected projector. By following these steps on Windows or macOS laptops, you can optimize the projection and create a better viewing experience for your audience or yourself.
Part 4. How to Customize Your Projector Display from Your Laptop?
Once you have successfully connected your projector to your laptop, you can customize the projector display to enhance your presentation or viewing experience. Here are some ways to do it:
1. Adjust Screen Resolution:
In the Display settings (System Preferences on macOS or Display Settings on Windows), you can fine-tune the screen resolution for the projector to ensure the best image quality. Select the native resolution of the projector for the sharpest visuals.
2. Display Orientation:
If the projector is set up at an angle or you need to project on a non-standard screen, you can change the display orientation. In the Display settings, look for the option to rotate the display to match the projector's position.
3. Screen Size and Zoom:
Most projectors allow you to adjust the screen size and zoom directly from the projector's remote. However, some projectors also offer remote control software that you can install on your laptop to control these settings digitally.
4. Keystone Correction:
Keystone correction helps correct image distortion caused when the projector is placed at an angle to the screen. Some projectors have automatic keystone correction, while others may require manual adjustment through the projector's menu or remote control.
5. Picture Mode and Settings:
Projectors often have different picture modes (e.g., cinema, presentation, sports) to optimize the image for specific content. Additionally, you can adjust settings like brightness, contrast, color temperature, and sharpness to suit your preferences.
6. Audio Output:
If your projector has built-in speakers or audio output options, you can select the appropriate audio output in your laptop's sound settings. This ensures that sound is directed to the projector's speakers or external audio system.
7. Wireless Projector Control:
Some projectors offer wireless control options, allowing you to adjust settings, change slides, or navigate content from your laptop using dedicated software or apps provided by the projector manufacturer.
8. Dual-Screen Applications:
For presentations, consider using dual-screen applications that enable you to control what's displayed on the projector while keeping your laptop screen private. Software like Microsoft PowerPoint or Keynote allows you to manage presenter view and audience view separately.
By customizing your projector display from your laptop, you can optimize the visual and audio settings, adjust for different presentation scenarios, and deliver a professional and engaging experience. Familiarize yourself with both your laptop's display settings and the projector's remote or control software to make the most of your projector setup.
Choose Suitable Projector for Laptop from XGIMI
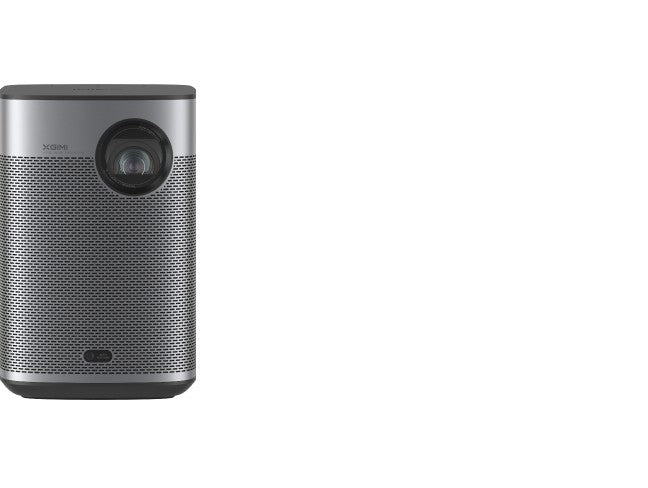
Experience cinema-quality entertainment anytime, anywhere with XGIMI Portable Projectors! Transform your space into a captivating theater with stunning visuals and immersive sound. Don't miss out on this incredible offer! Call now to get your hands on the ultimate cinematic experience.
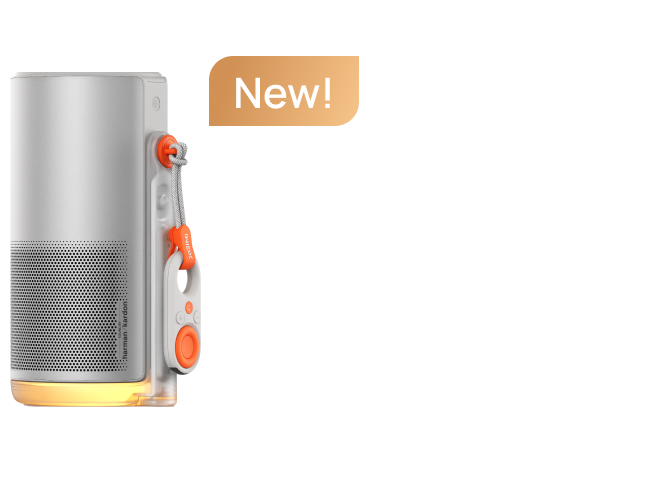
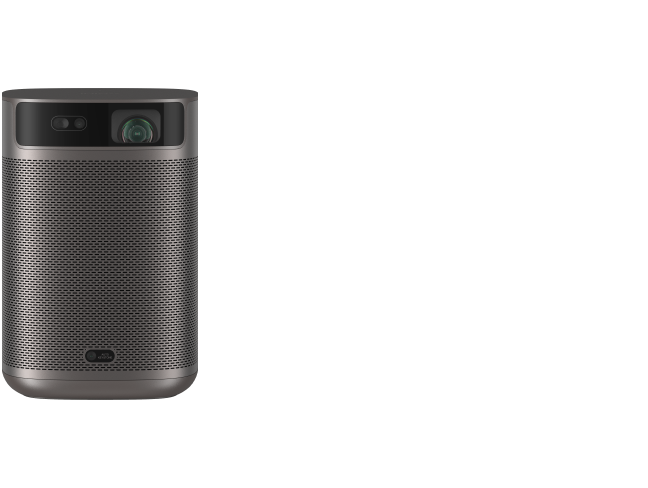
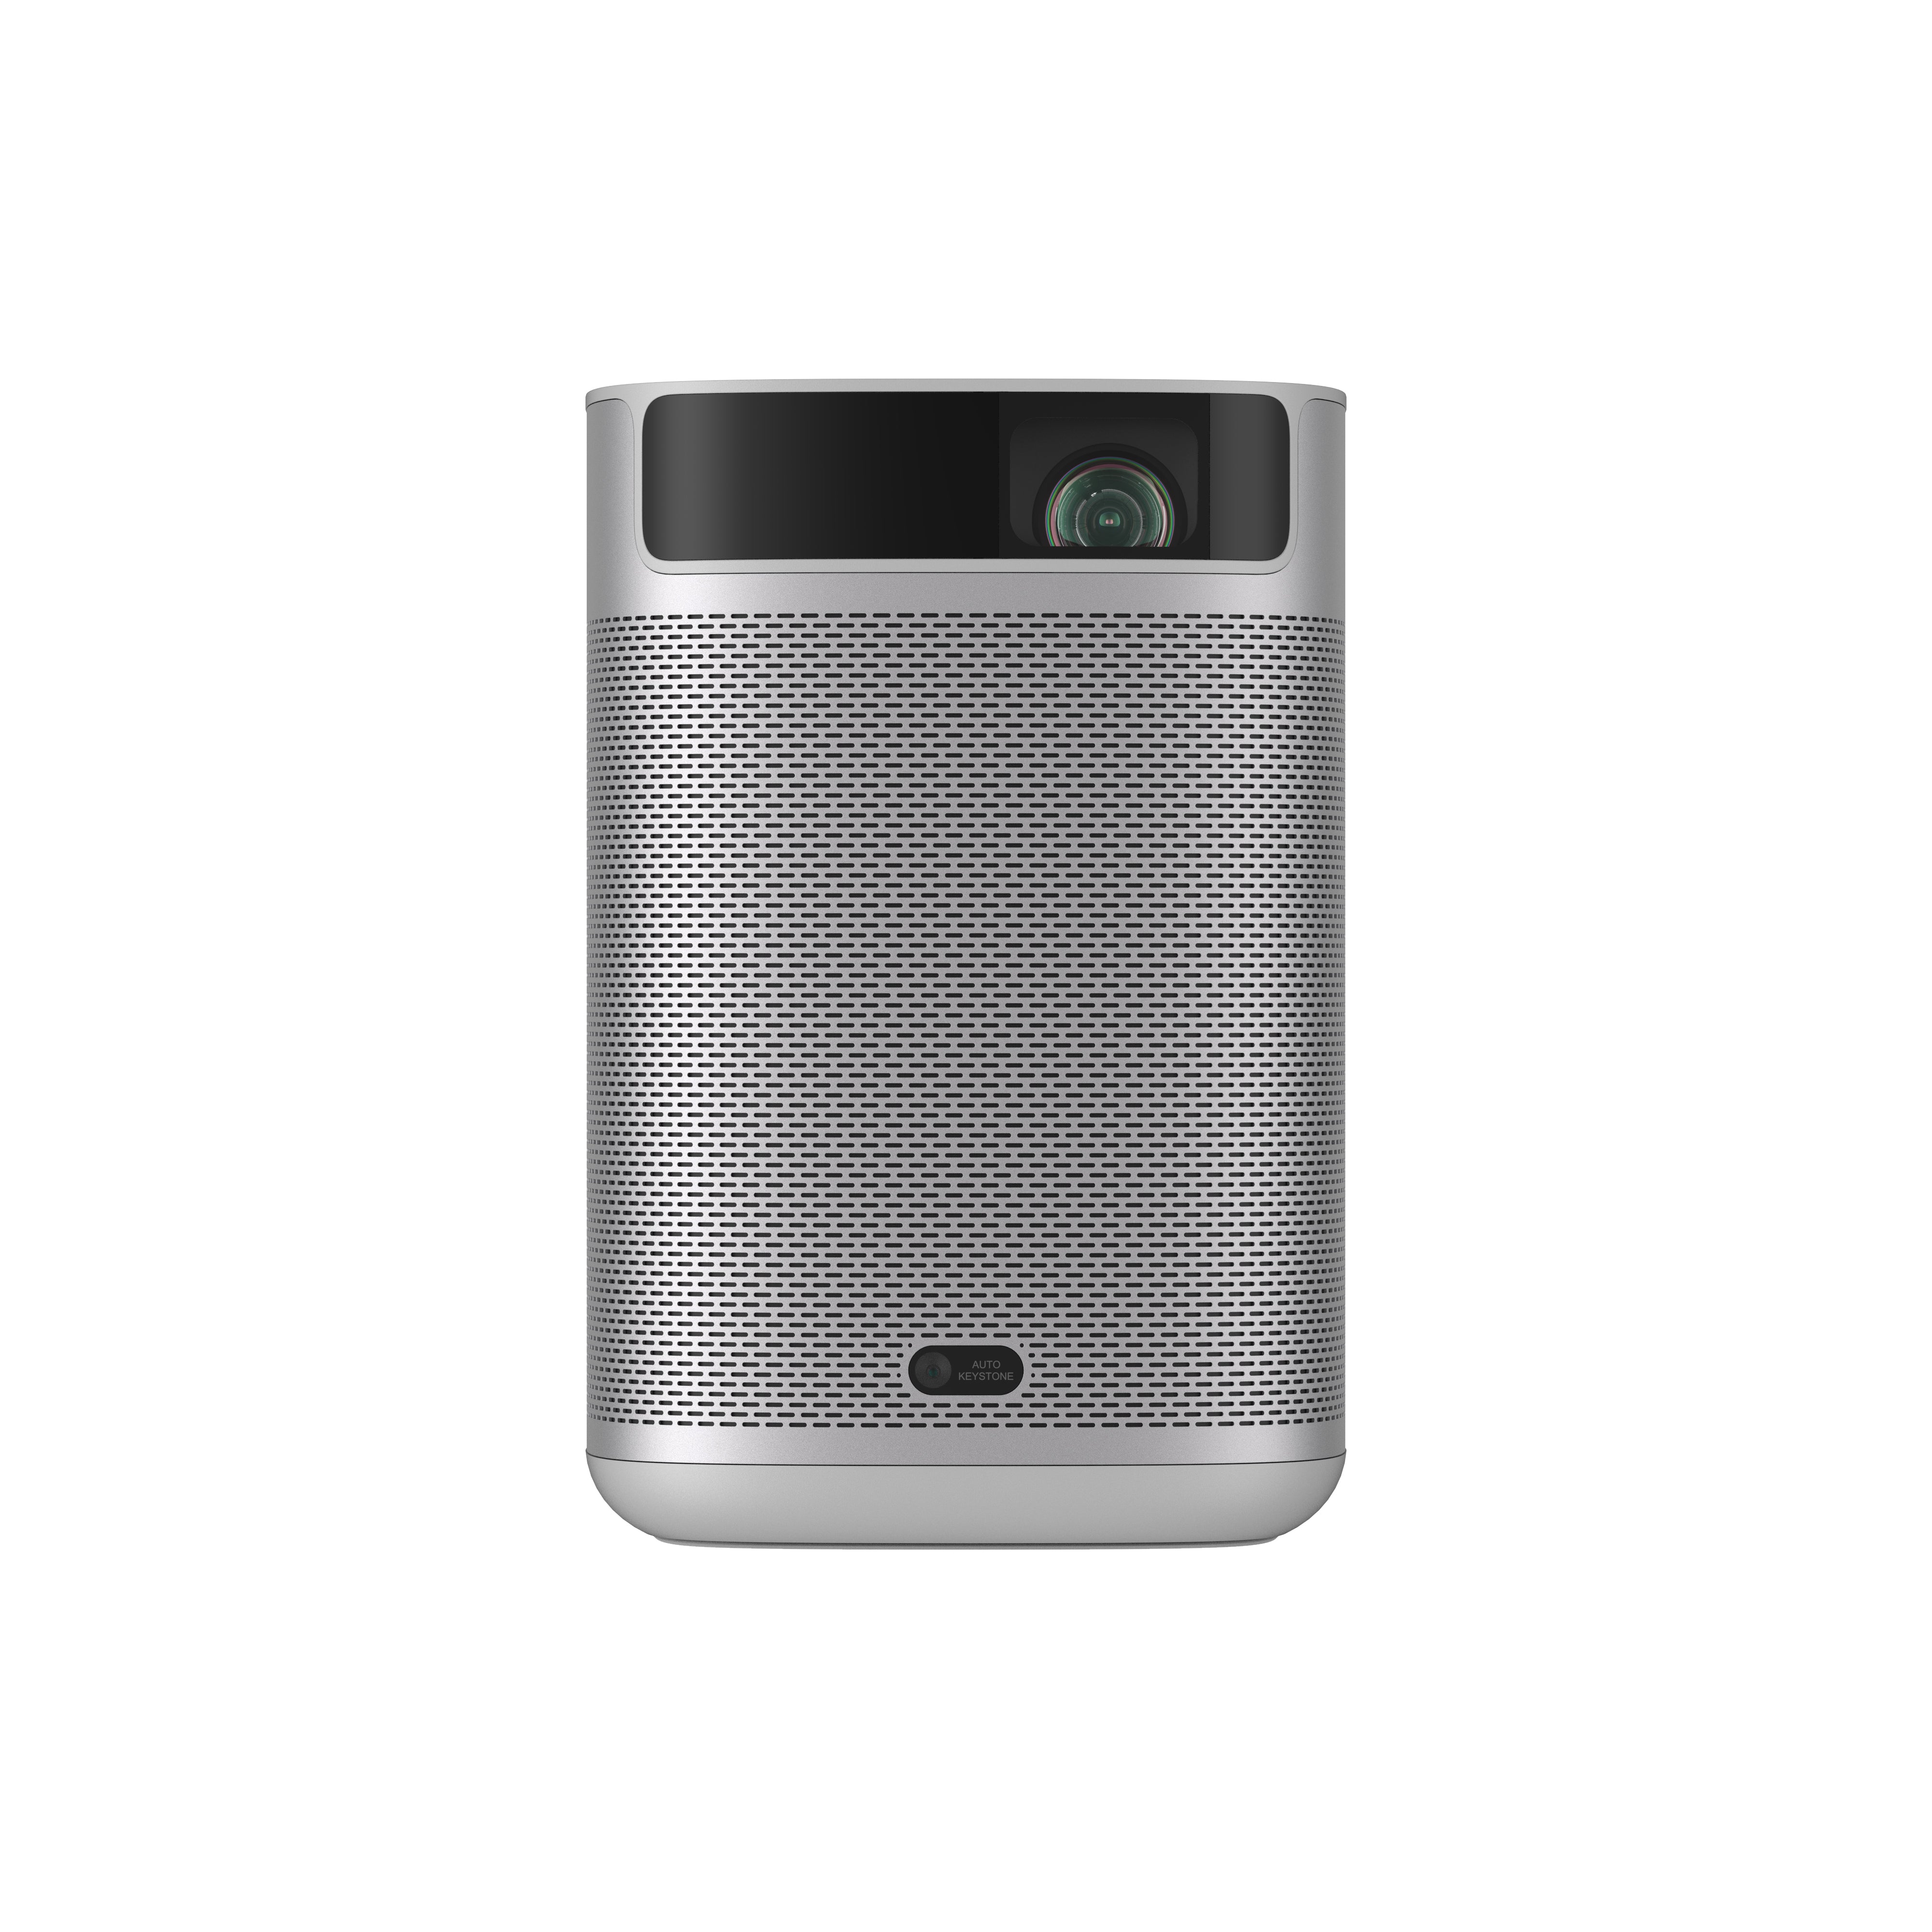
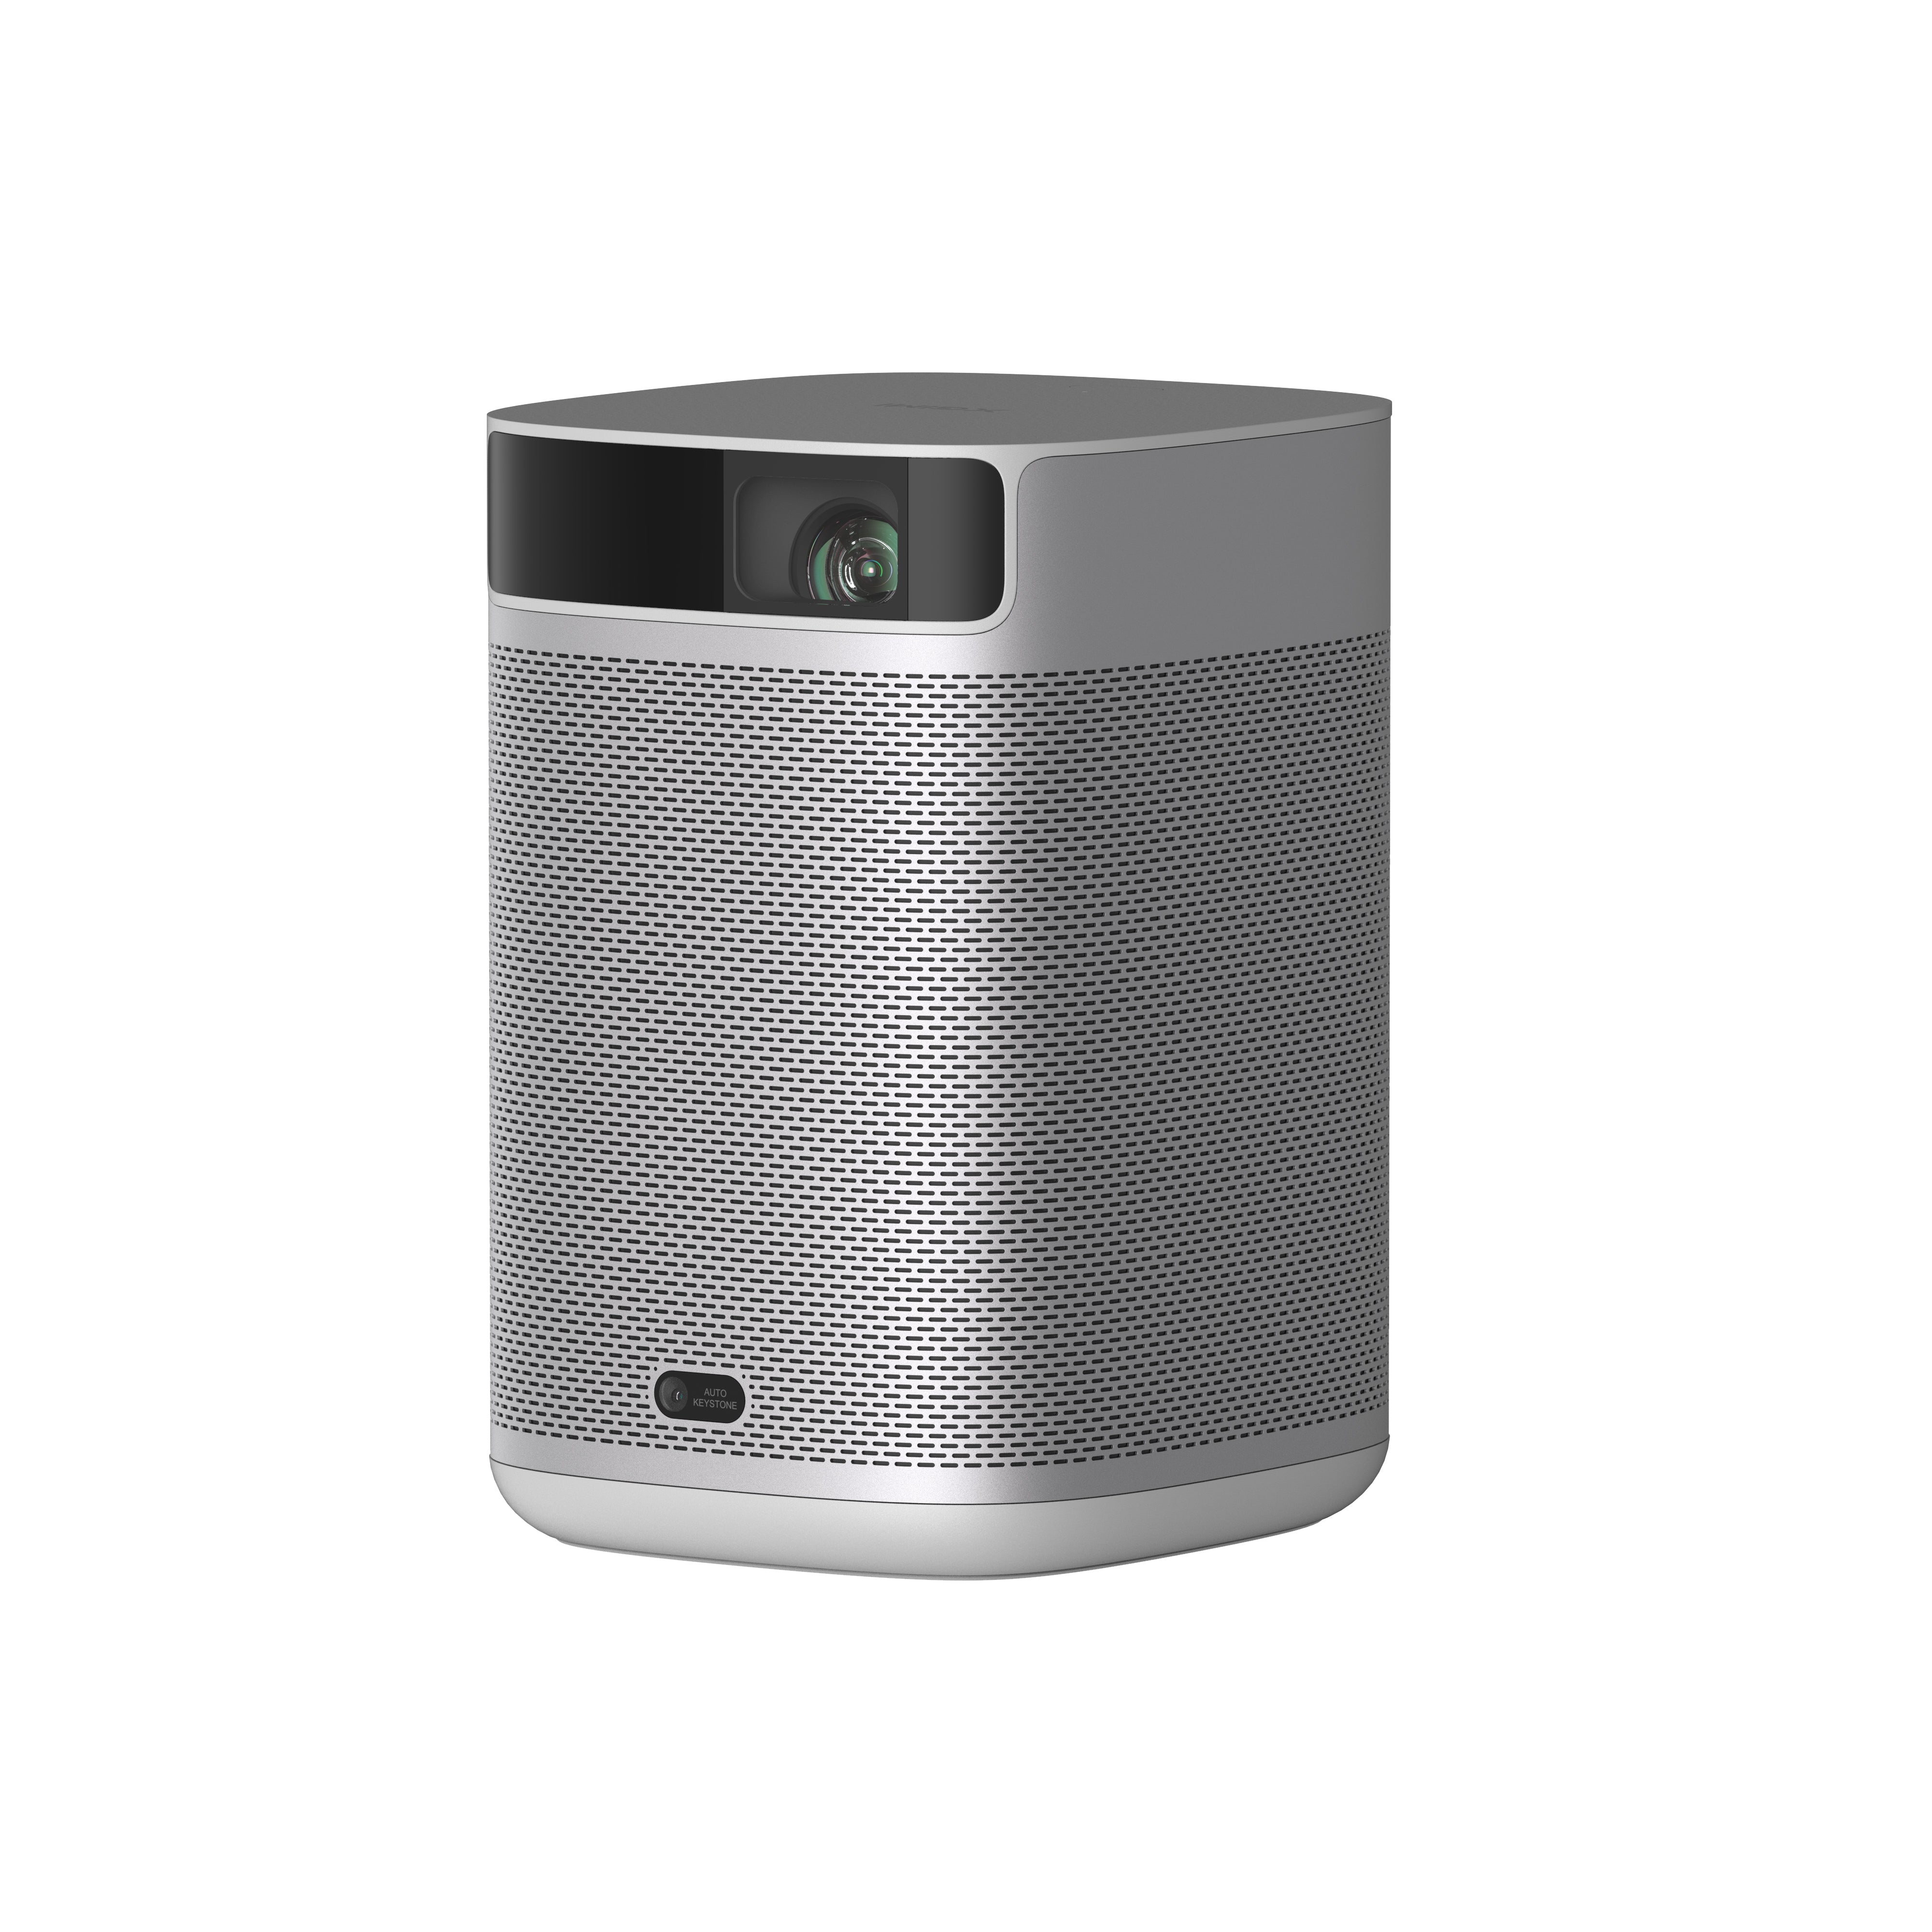
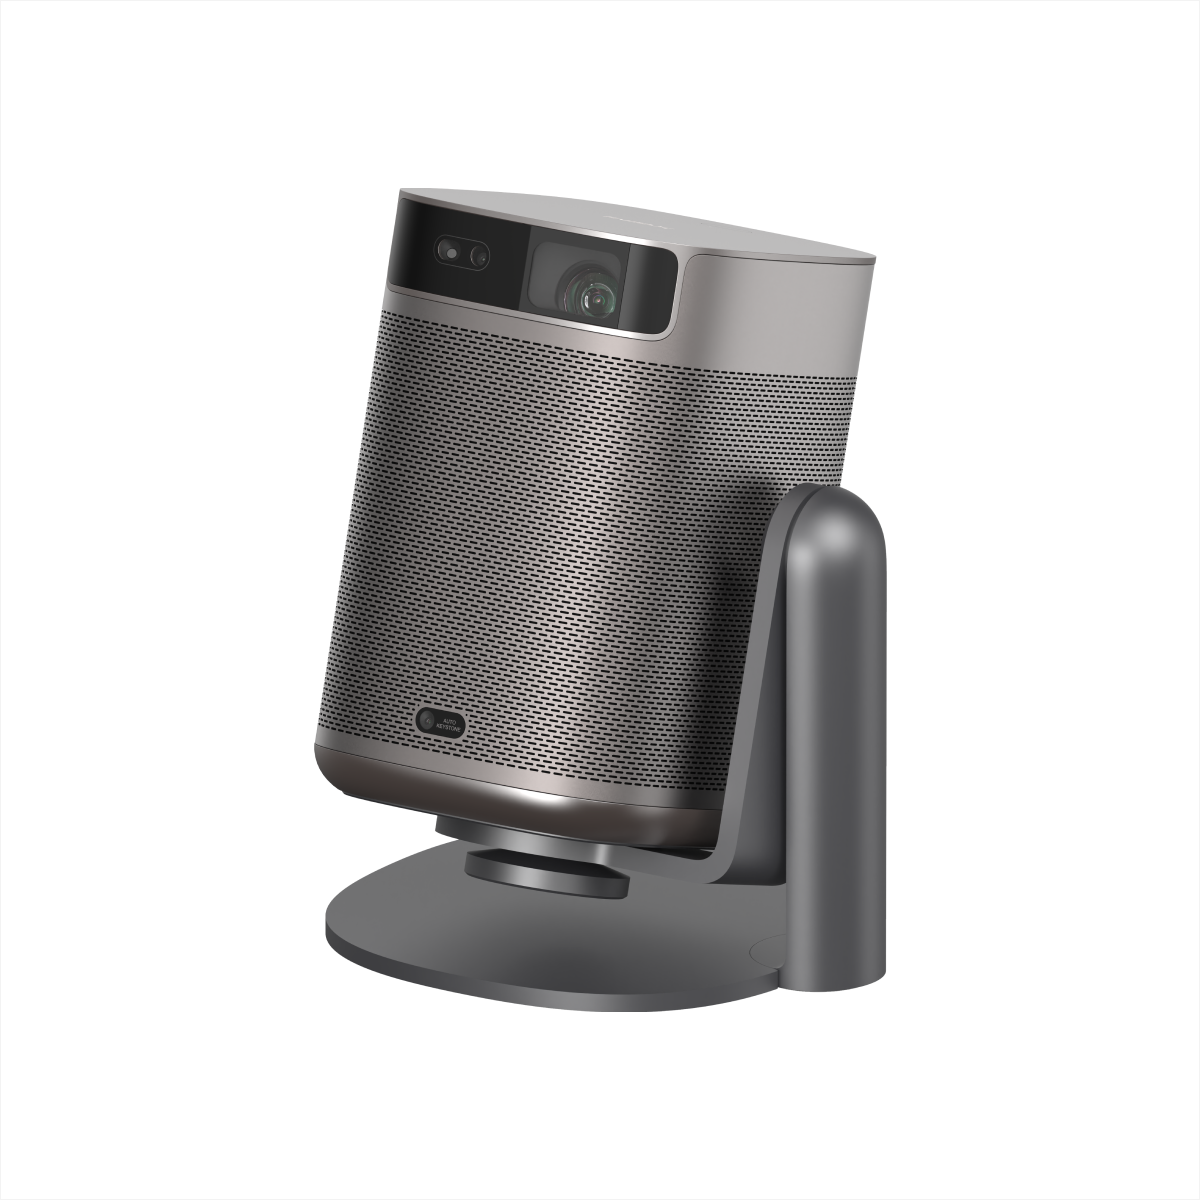
XGIMI MoGo 2 Projector
- Cinematic Visuals for Only $399: MoGo 2's 400 ISO lumens, integrated D65 color temperature standard, and 90% DCI-P3 color gamut offer a cinematic big-screen experience with bright, colorful images.
- Plug and Play: Let MoGo 2 do the work for you. With our industry-leading ISA 1.0 technology, enjoy the easiest projector setup experience.
- Movies on the Go: MoGo 2 connects to your power bank and is easy to move to different rooms or during your outdoor adventures.
- 8W Speakers with Dolby Audio: MoGo 2's built-in dual 8W speakers with Dolby Audio provide impressive sound, helping you immerse in your favorite movies, music, and more!
- Android TV 11.0, Thrilling 3D Movies at Home: MoGo 2 decodes 4K video smoothly and supports 3D content. With the upgraded Android TV 11.0, you get the ultimate user-friendly experience.
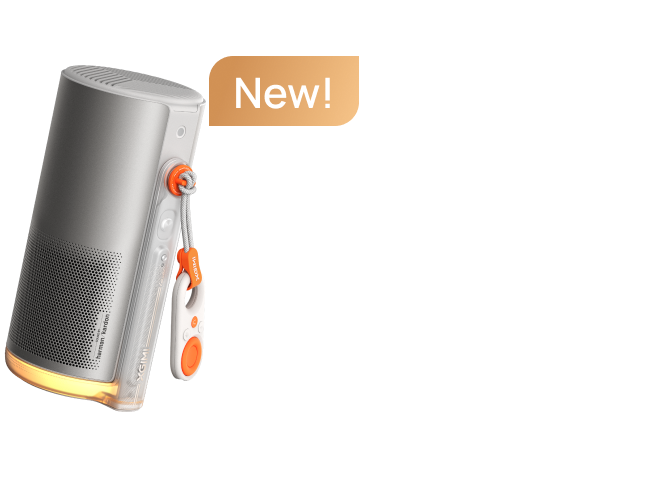
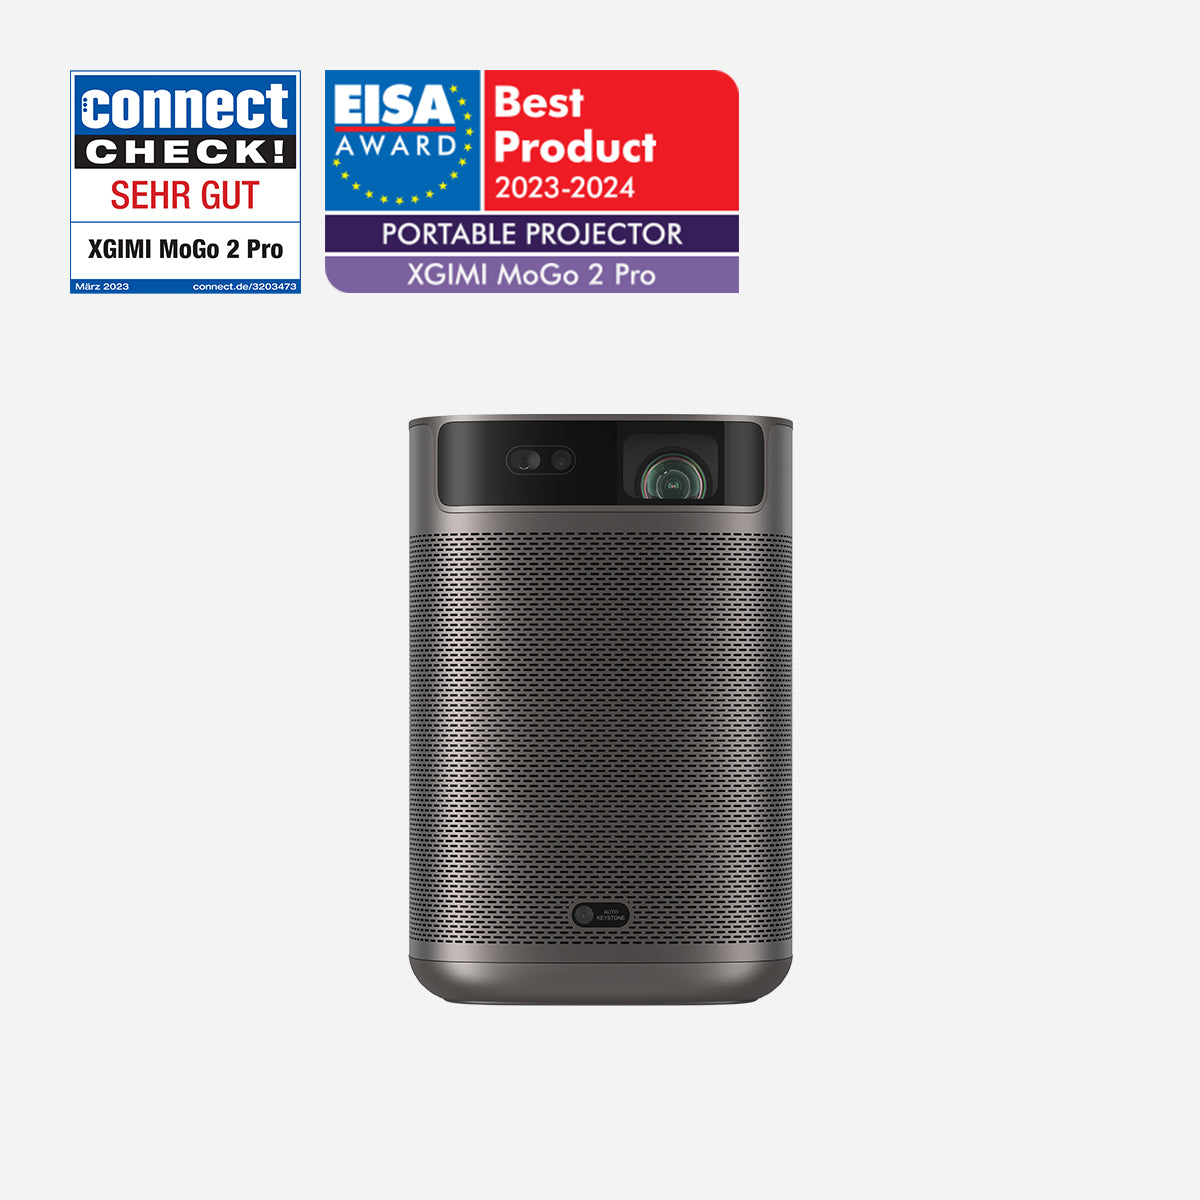
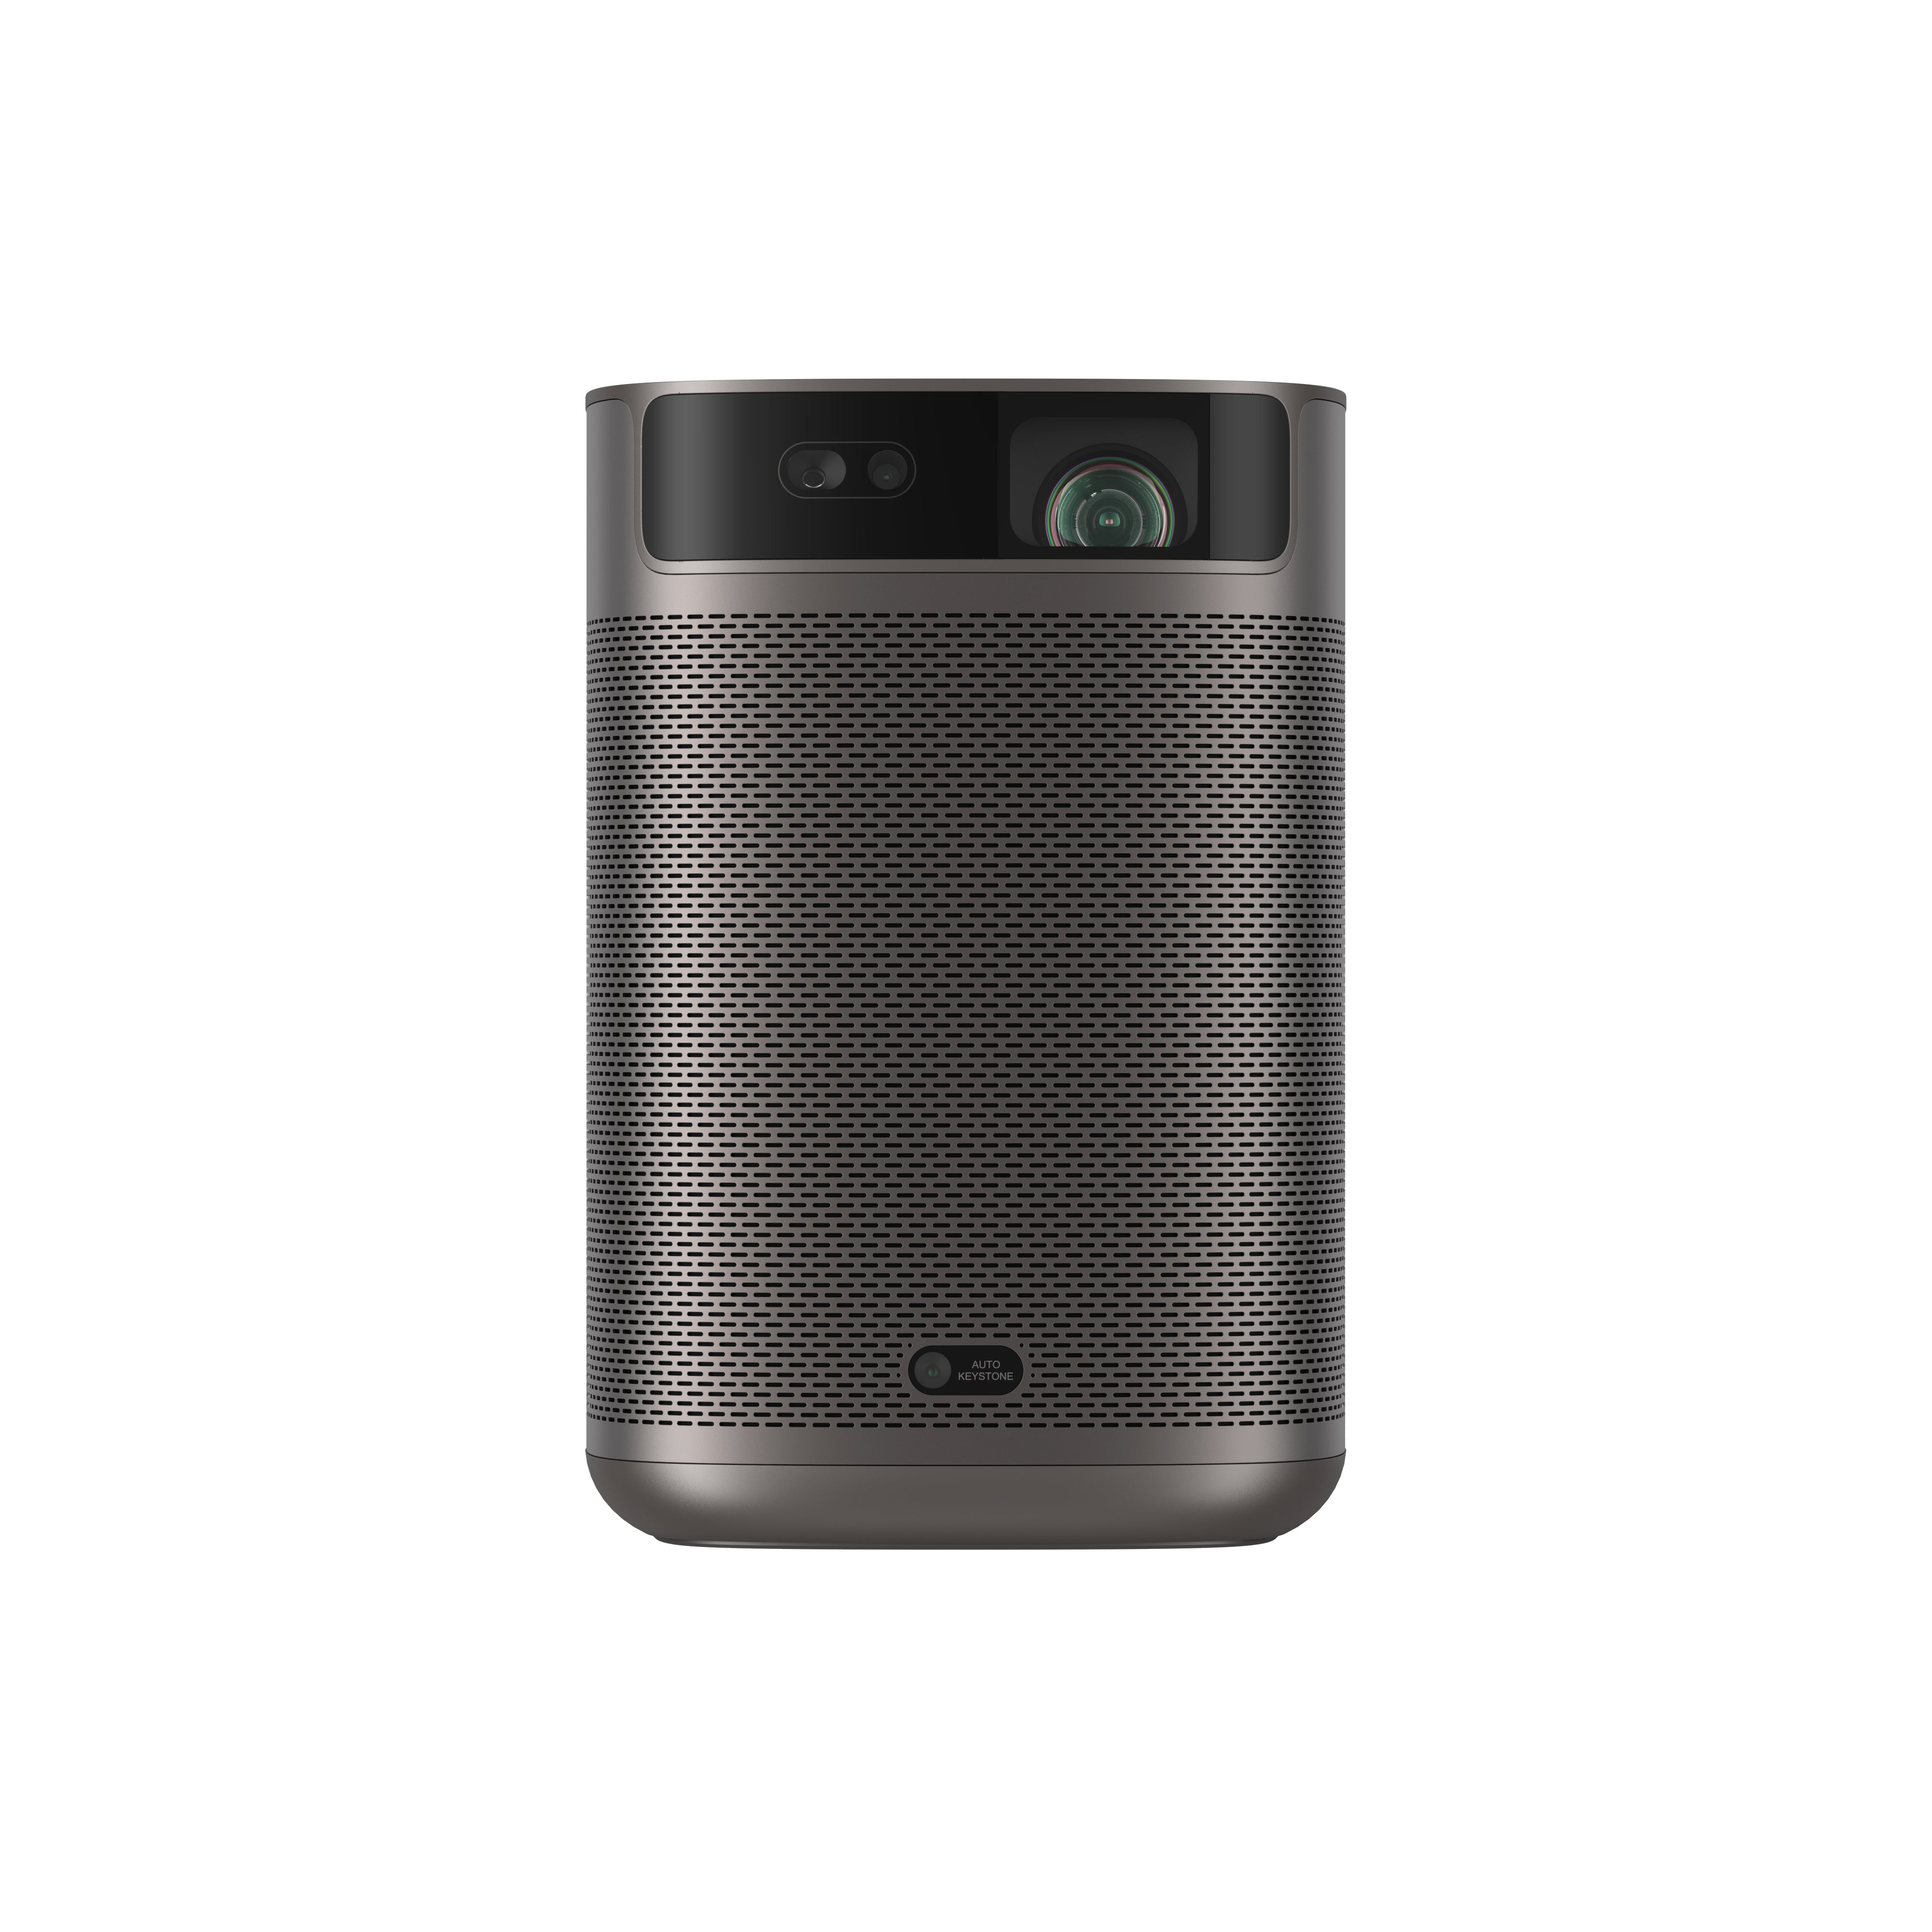
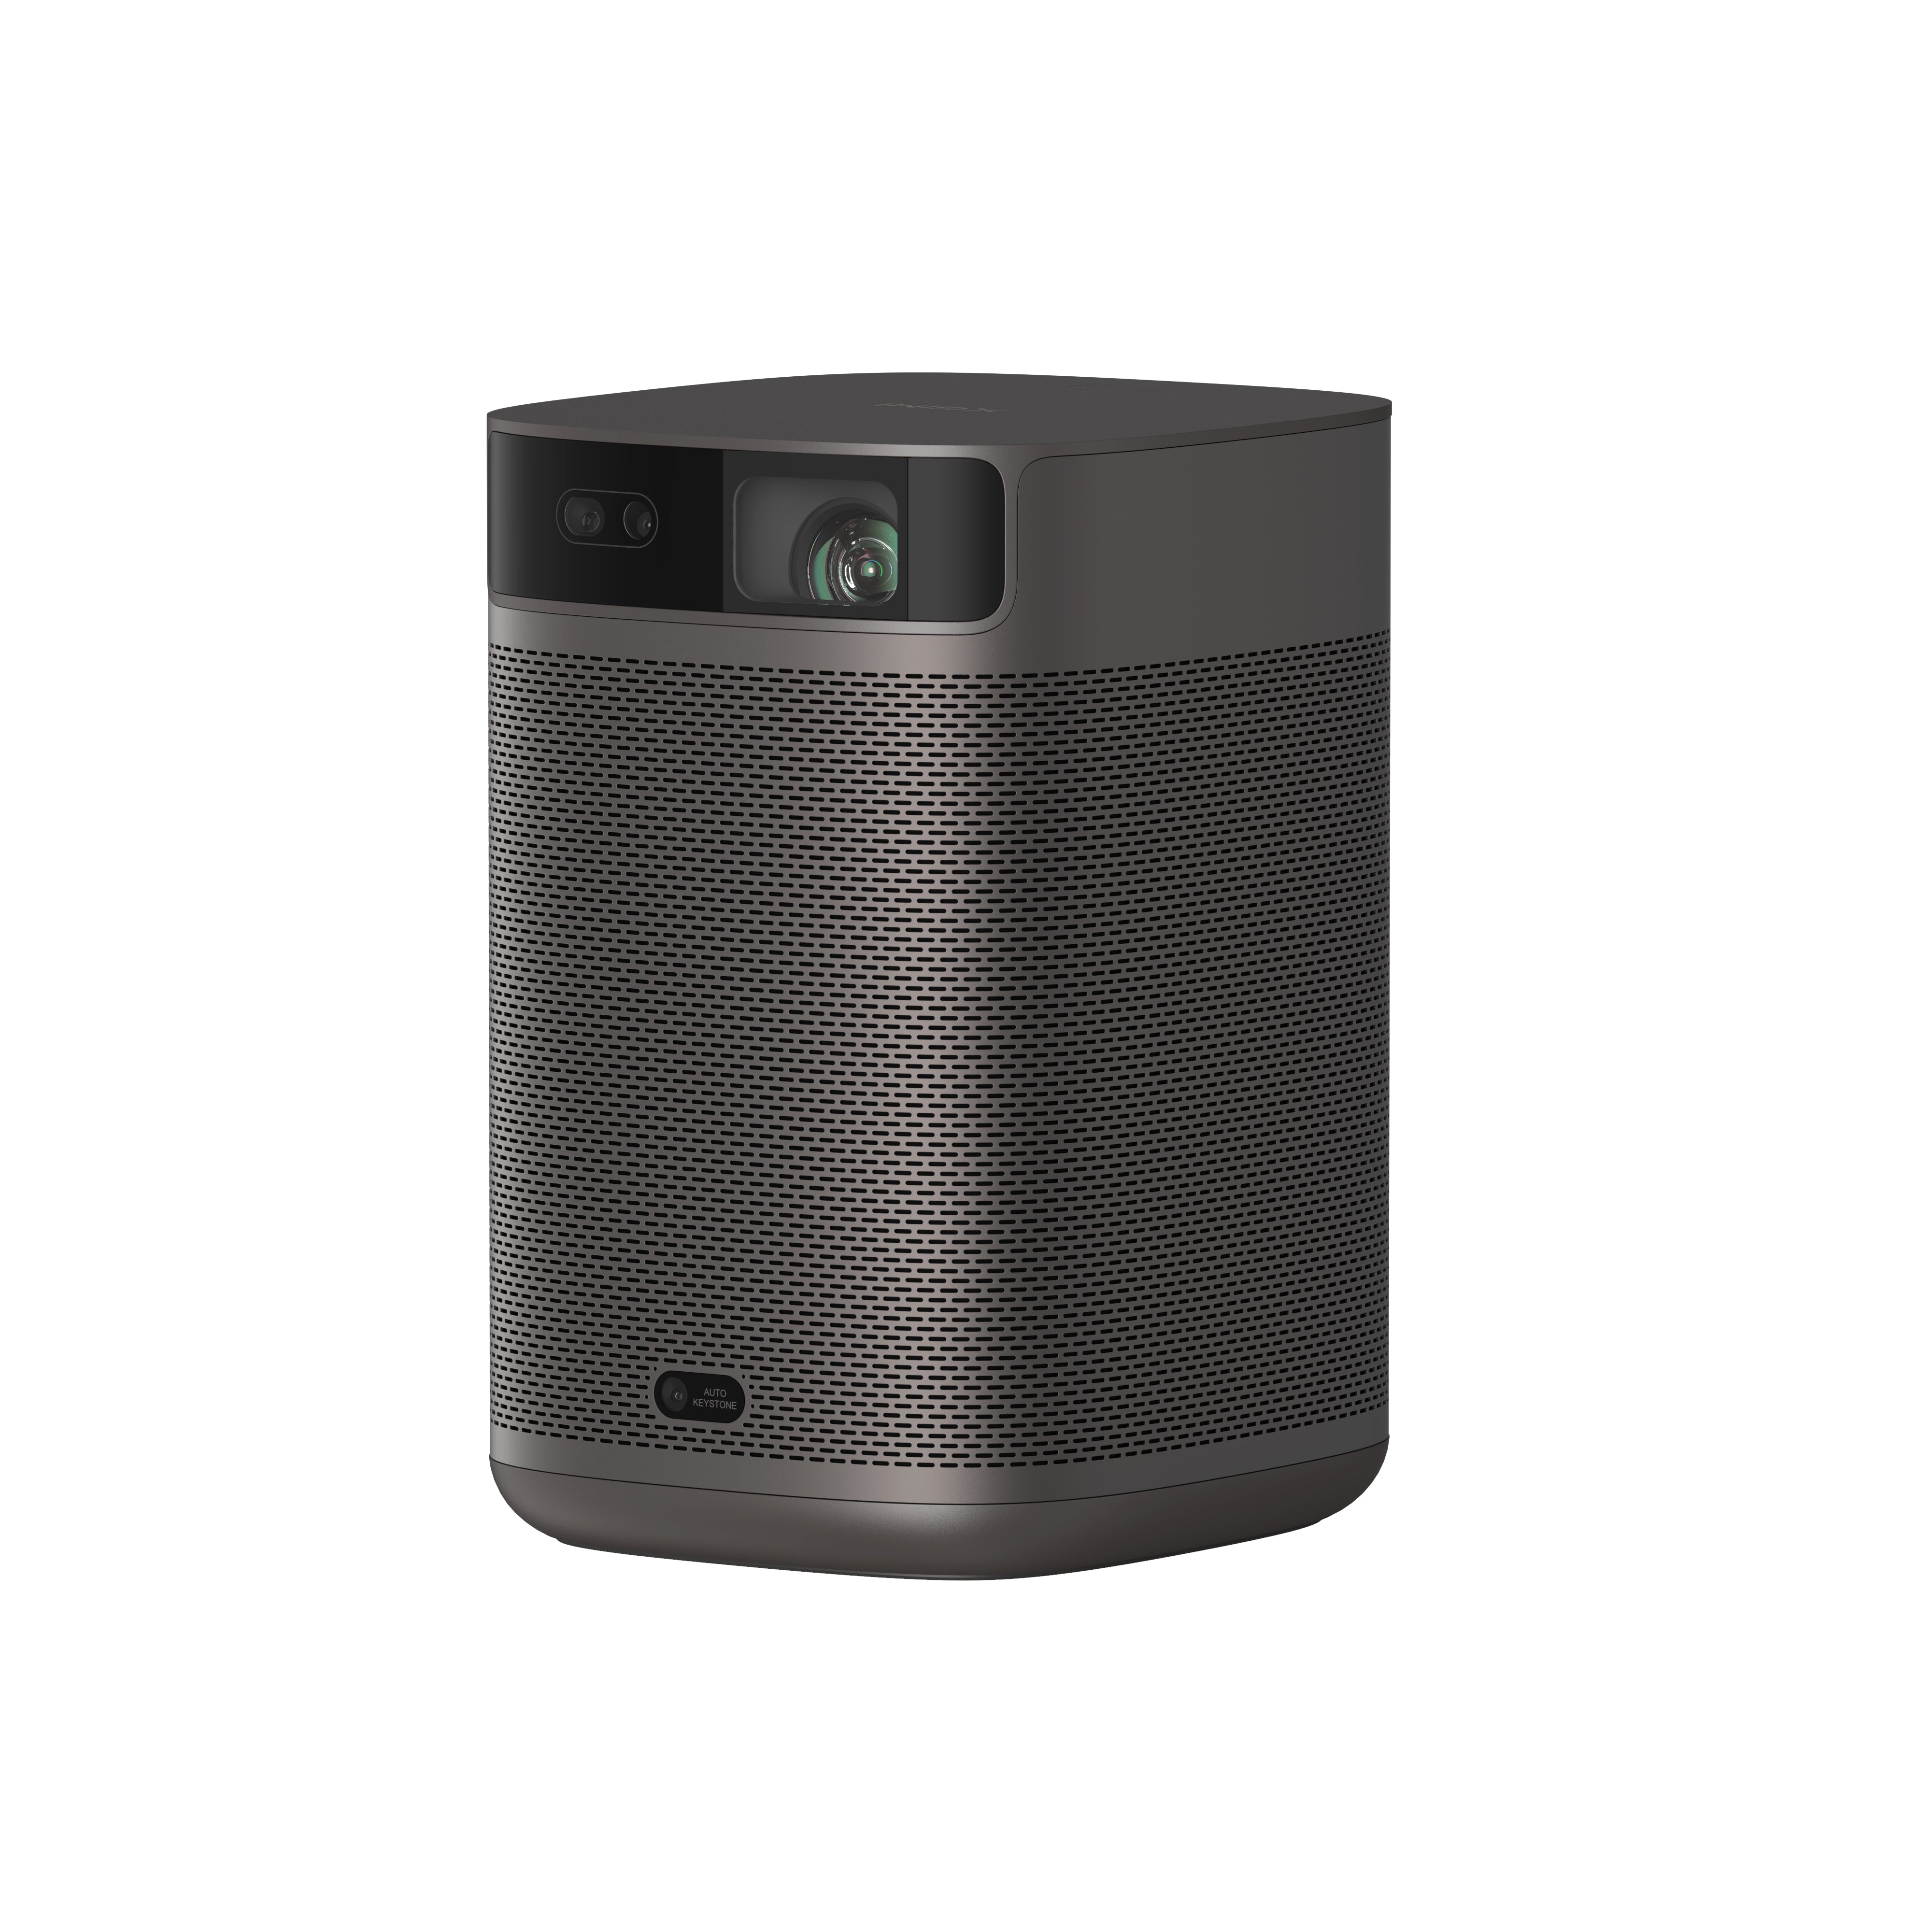
XGIMI MoGo 2 Pro Projector
- Hollywood-Standard Visuals: With 400 ISO lumens, integrated D65 color temperature standard adopted by Hollywood, and a 90% DCI-P3 color gamut, all colors are restored in brilliant, lifelike detail.
- Seamless Setup, Smart Projecting in a Snap: Our new ISA 2.0 technology ensures you never miss a moment of your favorite movies, TV shows, or games.
- 8W Speakers with Dolby Audio: MoGo 2 Pro offers a deeply immersive and cinematic audio experience thanks to its built-in dual 8W speakers with Dolby Audio.
- Smooth Android TV 11.0 and 3D Movies at Home: Decodes 4K video seamlessly and supports 3D content. Moreover, the upgraded Android TV 11.0 provides the ultimate user-friendly viewing experience.
- Movies on the Go: Easily connect MoGo 2 Pro to your power bank, allowing you to move it to different rooms or take it on your next outdoor adventure.
Conclusion
Connecting your laptop to a projector opens up a world of possibilities for presentations, entertainment, and collaboration. By understanding the various cable options and adapters, such as HDMI, VGA, USB, or wireless connections, you can effortlessly set up the connection.
Configuring display settings on both Windows and macOS laptops ensures seamless projection, while customizing the projector display enhances your viewing experience. Whether in a boardroom, classroom, or home theater, mastering these techniques empowers you to deliver captivating presentations and enjoy multimedia content on a larger screen. Embrace the versatility of laptop-to-projector connections and unlock the full potential of your devices for a truly immersive visual journey.
Product Recommendations
Just Play,
Your Way

Mini Size, Maximum Entertainment

Mini Remote Control
Enjoy £10 off Your Next Purchase
Be the first to know about any news and sales!
*By subscribing, you agree to receive XGIMI's marketing emails and XGIMI's Privacy Policy.

